Sunday, November 6, 2011

Everyone Needs a Little POP in Their Life

Hello! I’m back again. I stopped blogging for a week. Or too. And I made this cake pops for Halloween. Can you believe it? This is my first time making this lovely treats. Actually, it’s my second, but I made chick cake pops for easter last year back when my blog was lame and I posted every 2 weeks.
But seriously? Look at these things!

Aren’t they so darn adorable?
But if you’d like to see how to make them, I’ll give you a step by step tutorial right here or you can go to this site, which was where I originally found the idea.


Pumpkin Cake Pops

Ingredients:
-1 box cake mix (I used Betty Crocker Super Moist Devil’s Food Cake Mix)
-1 can frosting that coordinates with cake mix (I used Duncan Hines milk chocolate frosting)
-colored chocolate wafers (I got a pound of them but 1 and 1/2 pounds might be safer)
-1 bag sucker sticks
-1 bag Nestle Dark Chocolate & Mint Morsels
-Americolor Gourmet Writer Food Decorating pen
-styrofoam block


Do you see this mini vampire? I stole it from the mini haunted house me and my dad made years ago and have on display every halloween. Vicious!

1. Okay, so bake up your cake according to the directions on the back of the box and let it cool. Crumble it up until it is nice and fine.

2. Next, mix 1 can of frosting evenly throughout the cake mix. You will probably need to use your fingers for this. Bakerella says that you may not use the whole can of frosting, but it’s easier to just get rid of it at one time, unless you have a different recipe that needs a teensy amount of frosting.

3. Now it’s time to take your trusty scoop to use as a base for your balls.


4. After you scoop up your cake, drop the ball into your hands and sculpt it until it has a perfect form.

5. I refrigerated the cake balls for a little while, just so they’d firm up slightly, for about 15  minutes.


6. Put a good amount of your wafers into a tall glass (I used one from a set we got from Ikea) and melt them until the chocolate is smooth and watery (this doesn’t mean adding water to it).
7. Make sure you don’t over-microwave this. Chocolate can burn! You can prevent burning by microwaving in 30-second intervals. Stir quickly after each heating. If you don’t work fast your chocolate will harden. After most of the chocolate is melted and just a few wafers are still intact, start microwaving at 15 and 10-second intervals.


8. Get ready to poke the sucker stick into the ball. Spoon up some chocolate, and roll the very end of the stick in the chocolate. Stick it immediately into the ball.
9. Repeat with all of your cake balls. Place in the freezer for almost half and hour, or until they are very firm.
10. Now it’s time to dip! Refill and microwave your chocolate as you need during this process. Take your cake pops out of the freezer one by one, so they are still freshly cold and won’t fall off. Dip them in until they are completely covered; turn them around to make sure they are.
11. Tap your excess chocolate off.
12. It’s a miracle.
13. Place in your styrofoam block. Repeat with every other cake pop.

14. Time for decorations!
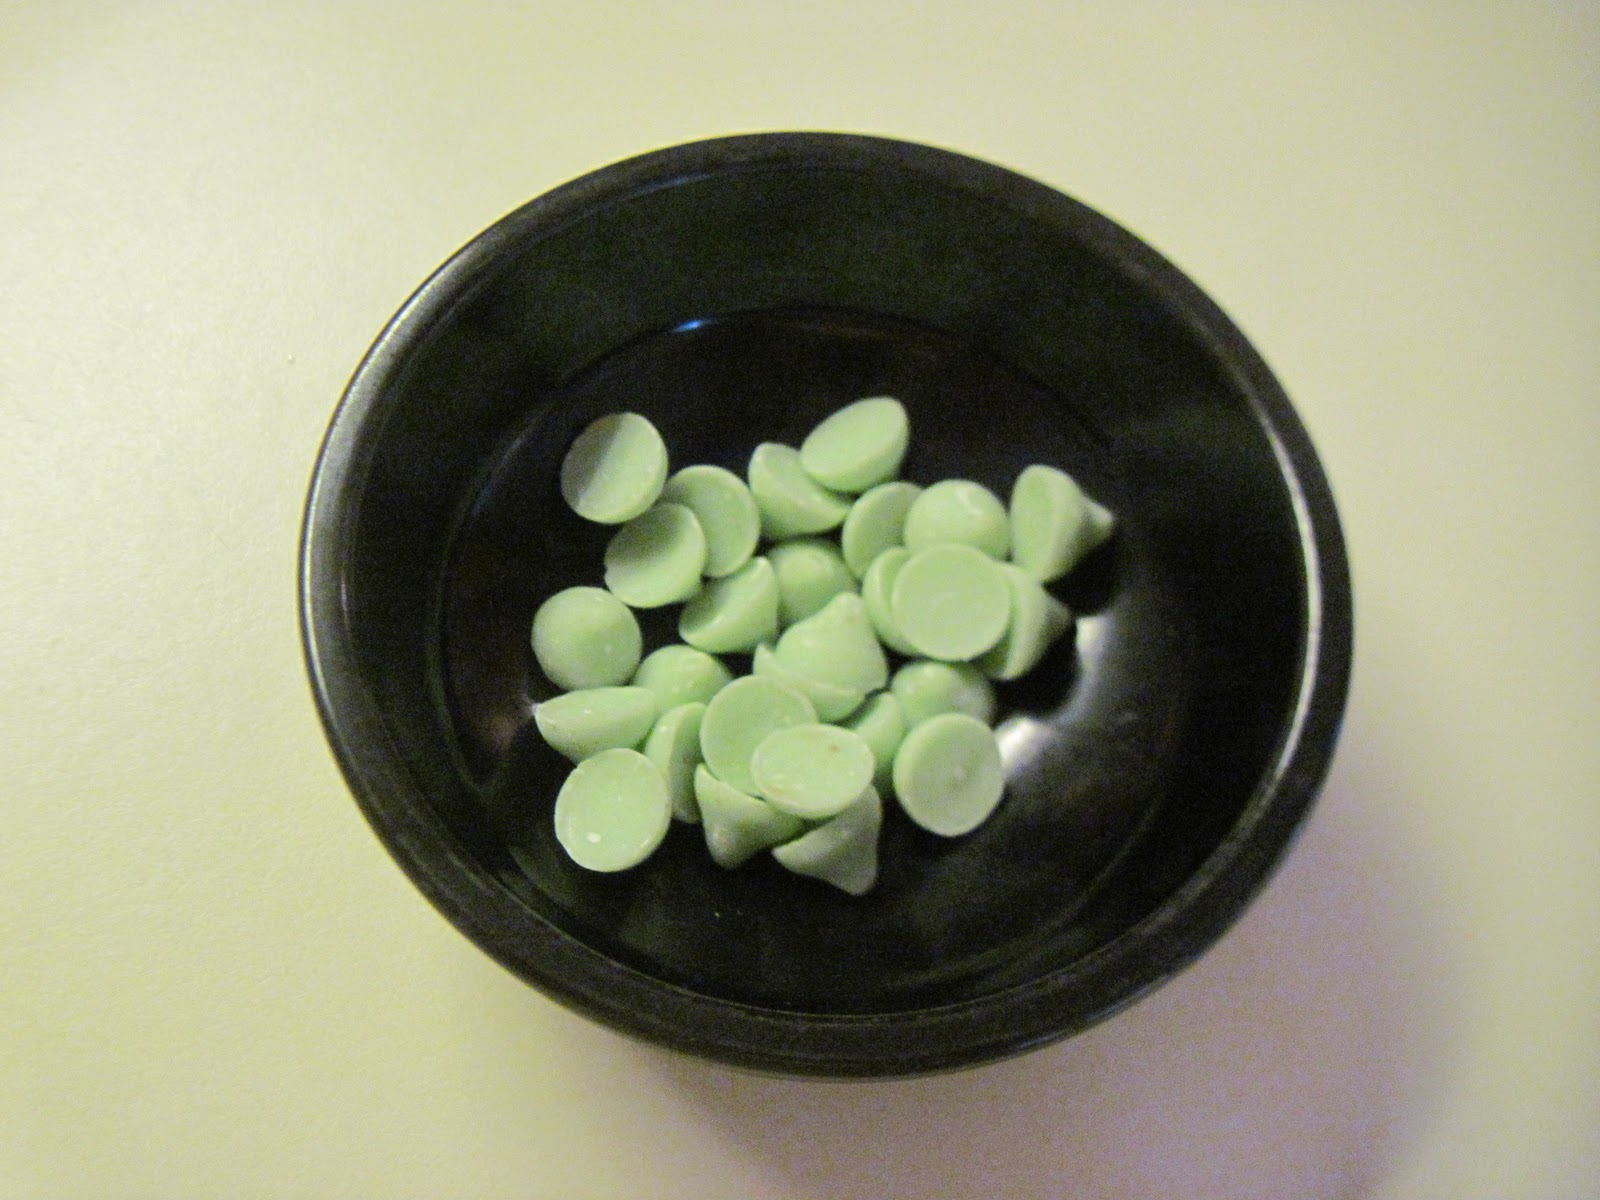
15. Now set up your stem station. Grab your bag of morsels. Separate the dark chocolate chips from the mint ones. Put them into a small bowl.

16. Look how darn cute this bowl is! Perfect for Halloween. Apparently it’s a salsa bowl, but it looks exactly like a cauldron, right?


17. When you are decorating, toothpicks are your best friends. Use them wisely. Transfer your melted chocolate to a small, short bowl and work with it. Dip your toothpick into the chocolate and then drop a dollop on the top of your cake pop (this acts as glue).
18. Push a mint chip firmly onto the cake pop. Do this with all cake pops.


19. And when there were no more chocolate wafers, we had to melt two bags of Nestle white chocolate chips. That wasn’t such a good idea. Apparently, this is why those are used for cookies and the wafers are for melting. Lightbulb? The cake pops dipped in the regular melted chips turned out lumpy, chunky, and were sprinkled with old pumpkin sprinkles. Oh well.
Yay! I smell cuteness.


20. Use your Americolor pen to draw faces! (Mine are slightly unattractive LOL:)


21. And of course I was giving these pops up, so I had to present them nicely. I found these old paper Halloween bags in a cupboard and I bought a small pack of clear bags at Hobby Lobby for like 99 cents. Happy dance! So...
22. I put the cake pop in the clear bag.
23. Then I placed that bag in the paper bag.
24. I took my handy stapler, and pinched the sucker stick (holding it in place) while I stapled the bag to the left and right of it. 
Perfection.

Don’t you love these?


Bye, bye!

*Note: This should have been posted on Halloween*

Saturday, October 22, 2011

Starbucks, Cake Pops, and Cupcakes... Oh My!

The best thing happened to me, just recently. I was in the downtown area and I saw a Starbucks. Which gave me the idea to stop in. And I almost passed out from happiness. This Starbucks had a downstairs with a lounging area and lots of cute tables. And upstairs there were lounging chairs and a couch area, there was even studying tables with lamps. Displayed in the glass case at the counter, there were 2 beautiful things. Cake pops and mini peanut butter cup cupcakes. And they were gorgeous.
I have had the cake pops at Starbucks before, and every time I try them I’m addicted. I got 3 of the Birthday Cake pops and 1 Tiramisu. They were... DELISH!!!

They’re just so pink and simple.
And yes, I know the shaped cake pops are really creative and artsy, but when they are tasty they are also pretty awesome.

And the cupcakes? They were also gorgeous and so, so tasty! It tasted exactly like Morley’s candy blocks.
And that’s all I have to say. You should probably go and buy some of these treats. Before you find out that you’re missing out on a lot.

And now here’s a bunch of random photos that I enjoyed :)


I know, it’s making you drool.


Such moist and chocolaty cake inside. One word. Heaven.

And these boxes they were in? Too cute, also. I have to find similar ones to transfer my goodies in.


Go out and get yourself a cake pop. You deserve it.

Bye, bye!


Friday, October 14, 2011

Thanks A Latte Card

Five years ago (last February), I created this thank you card. And now I decide to share it with you. What’s wrong with me?
I thought this card was totally genius when I thought of the idea. Then I found out 5 million others did the same thing before me. Some great idea.
But isn’t it cute? Come see!


My first attempt was to print out multiple Caribou Coffee logos on brown card stock. I then continued my failure and tried to cut coffee mugs out of the same card stock. 
And with what, you say? With my Cricoto of course!
(P.S. This means Cricut in Spanish if you’d like to know:)
I eventually gave up with the idea of Caribou Coffee mugs and I added a little creativity. I found a mug on the Internet that served as my template for my own mug. Then I cut the mugs out using some hot pink card stock and patterned scrapbook paper. Sorry, I cannot give credit to what brand the paper is, due to the stacks have already been thrown out. However, I did get both papers in stacks from Jo-Ann Fabrics.
After those were all cut out and clean, I designed a little label on my computer, coordinating with the circle Avery labels I had at home.

Aren’t they gorgeously adorable?
I’m in love with designing labels. From these to the Dory/Just Keep Swimming ones, I’m on a roll. I really wish I could share a free template of these, but that’ll have to wait until I find out how to make these sharable. Hmm...

P.S. Midge is here again :)


Tuesday, October 11, 2011

Just Keep Swimming

I don’t have much time to share this with you but I’ll try my best to sum it all up. I enjoy baking treats for the swimmers on special occasions like meets, and this was just one idea floating in my head for a long time.
You know that catch phrase Dory is always mumbling when she is wandering around aimlessly? Just keep swimming... just keep swimming... just keep swimming...
That just puts me in a hypnotic state. And what better time to share it when you’re handing these treats to swimmers who just keep swimming? Fantastic idea, right? I made these cake batter blondies, which were absolutely gorgeous and took no time at all. The swimmers loved them and begged for more—unfortunately I should have made a double batch. But I wasn’t sure. You never know when you are experimenting with a recipe. It could be good or it could be bad.

And here it is!
I created the design but the clipart Dory came from this site.

Saturday, October 8, 2011

Yes, More Treats from "That Bakery Next Door"

There is a time in life, when you realize something very certain.
  1. Maybe that momager of a movie star is just afraid of her superstar failing, because he/she has never fallen on the sidewalk and gotten a scratch.
  2. Maybe that genius in your 9th grade Bio class will be the next Bill Gates or Steve Jobs, and you probably should have accepted his invite to Homecoming
  3. Or, when you realize you shouldn’t have ate that last brownie on the party platter
Whatever it is, we realize people can look back on their mistakes and realize what they did wrong. Which just makes us better human beings. Evaluating ourselves and saying “hey, I guess I could’ve done better”
I regret not showing these sugary treats to you back in the summer, when I ate them. Honestly, I was out of it this summer. I didn’t blog for weeks, possibly months.

Aren’t they adorable? The local bakery I told you about numerous times wanted to fill my belly with mushy wushy happiness that felt like a cloud in Heaven. It’s called: THE COOKIES (dramatic music playing in the background; preferably with an organ)

And up-close, they are 10× cuter!
Hope it gives some inspiration to all those decorators out there :)

Sunday, October 2, 2011

Five Things I’m in Love With Right Now


REESE’S PEANUT BUTTER CUPS MINIS
Aren’t they so darn adorable? Perfect for a sugar fix. And the great thing is, there’s no wrappers, and you know how we all hate opening up sticky wrappers that the chocolate melt into. These might just be the cutest thing in the universe. Suggestion: They are GREAT cold.

BURT’S BEES
I love how natural this brand is and how soft their balm makes my lips feel. And it doesn’t just stop at lip care. Nope, Burt’s Bees has a collection of hair care, face care, body care; you name it! If you don’t love this stuff, tell me you are CRAZY!

PUFFS PLUS LOTION
Why? Uh, duh. It’s cold season and I don’t want to look like Rudolph.

NEUTROGENA OIL-FREE MOISTURE: COMBINATION SKIN
I love this stuff because my skin is super sensitive and gets dry all the time. But it also can be very oily when I put on moisturizer. This cream keeps my face hydrated but at the same time protects any oily buildup from reaching the surface.

MY GLITTER NAILS
That’s right. I’m officially going gaga! Aren’t they so sparkly and glamorous? They make me feel like a movie star.