Showing posts with label Food. Show all posts

Tuesday, July 30, 2013

The Easiest Semi-Homemade Donuts Ever!! {no, seriously!}


Ok, so you all know I’m big into confessions. Especially confessions about food. Dessert to be exact. I love to bake dessert. I love to eat dessert. However, I do not like to eat the desserts I bake {does that sound strange?}. Yeah, I’m one of those girls that looks at the dessert menu before the main menu at a restaurant. What can I say? I have a sweet-tooth. Maybe all I think about is sugar and butter and the heavenly connection that happens when the two come together. I promise you, I’m not that weird :)

So yeah, I’m obsessed with desserts. To be particular, I’m obsessed with donuts. I wish I could eat them everyday. For reals. And no, I’m not talking about the donuts that come in a box at the grocery store. I do not obsess over those donuts. No, I’m talking about the airy, fluffy donuts that are freshly made at a bakery. Or at Krispy Kreme. God, I love that place. If you don’t know about Krispy Kreme, get your butt to one right now and try their donuts. If you’ve had Krispy Kremes and you don’t like them, get out of my face. Kiiddddding. Only sort of. Because who doesn’t like Krispy Kremes? Duudes, they give you a free donut when you’re waiting in line. No, I’m not kidding.

But anywho, I don’t have time to go to Krispy Kreme, because there’s not one that’s super close to where I live. So you know what? I deal. And I make my own donuts. Ok, semi-homemade donuts, because like I said, my cravings can not wait for dough to rise. Darn homemade dough.

As long as you have pillsbury biscuits for this recipe, you’re golden. Oh, and you might need vegetable oil. And some powdered sugar and milk for a glaze. Why don’t I just give you the recipe?


These donuts taste very fluffy and light and tasty. Not at all like they were made with biscuit dough.

Here are the ingredients:
-1 can of Pillsbury biscuits
-some vegetable oil for frying

Yeah, so basically 1 ingredient, because everyone already has vegetable oil in their house. At least they should :)

Soo, this is awkward, but I didn’t take pictures of the frying process, just because snapping pictures while baking is already hard, and then when you add the difficulty of trying not to burn yourself on hot oil makes it 10 times worse. 

But I’m going to explain this step-by-step. No worries.

First, cut little holes into each donut, I don’t no what I used, just some circle kitchen utensil. A cap from a pop bottle could also work. Now don’t throw away those little balls. They are going to be donut holes :)
Pour your oil into a skillet or a pot or a wok if you have one. I used a wok. Pour in just enough oil to cover a donut. If you are using a skillet, heat the oil on medium to medium high for a few minutes. You can test your oil by dropping a donut hole in. It should sizzle and kind of float at the top.

It doesn’t take much time for these donuts to cook. You’ll probably want to try doing two at a time, cause you don’t want to risk burning any of these donuts. Believe me, you’ll want to eat all of them. Let them cook for a little on one side and then the other. Use tongs to pick up the donuts and place them on a plate covered with paper towels. Blot these babies so all the oil is removed.


Now make the glaze while the donuts and donut holes are still warm. You’ll need:

-1/4 cup milk
-1 1/2 to 2 cups of powdered sugar (depending on how you like your consistency)
-1 tsp vanilla

Mix all of the ingredients until your glaze is completely smooth. Drop the donuts in the glaze and coat both sides. You may want to do this twice. I did :)

Eat the donuts while they are warm. Enjoy!

Seriously, that's one tasty looking donut :)

Saturday, July 20, 2013

Momofuku Milk Bar’s Crack Pie


Duudddes... I did it. I made the famed crack pie. I waited to make this for the longest time. But I was afraid that it would be really hard and not turn out good. Well, good news... the opposite happened. It turned out fabulous and was actually simple to make. Do not fear the crack pie. The whole zillion calories of it. Wow, that’s one robust pie.


Clearly there is a burglar in my house. One that loves sugary, sweet, fattening, melt-in-your-mouth desserts. Maybe it was me. Gasp.

And it’s not like I had two more slices that day {Please refrain from rude comments}. I'm training for a triathlon here.


 Don’t worry. If you’ve never heard of Momofuku Milk Bar, or Crack Pie, stay calm. There are no real drugs in this pie. Unless you want some. JK. For real.

But I would consider sugar and butter drugs. Because they seem to solve all problems :)

I found my recipe here, but I halved the recipe and changed it up a little to my needs. If you want to make 2 of these diet-crushing pies, go ahead. I don’t mind. The link is right above. 

Crack Pie Recipe
Adapted from AverieCooks/Momofuku Milk Bar Cookbook

Makes: One 9-inch pie

{Ok, I’m just gonna post the ingredients here. For the directions, head on over to Averie Cooks. The link is right up there}

For the pie:
-2 tbsp. butter, melted
-1 1/2 tsp. brown sugar, packed
-1 recipe Oat Cookie
-1/8 tsp. salt
-1 recipe Crack Pie
-powdered sugar for dusting

For the Oat Cookie:
-1/4 cup butter, softened
-2 tbsp. + 2 tsp. brown sugar
-1 tbsp. + 1 1/2 tsp. sugar
-1/2 an egg yolk (just beat 1 egg yolk and pour in half of it)
-1/4 cup AP flour
-1/2 cup old-fashioned oats
-pinch baking powder
-1/2 a pinch baking soda
-1/4 tsp. salt

For the Pie Filling:
-1/2 cup butter, melted
-3/4 cup sugar
-1/4 cup + 2 tbsp. brown sugar
-3/4 tsp. salt
-2 tbsp. AP flour
-2 tbsp. milk powder
-1/4 cup + 2 tbsp. heavy cream
-1/4 tsp. vanilla
-4 large egg yolks

Notes:

*I’ve never been to Momofuku Milk Bar, or New York for that matter. So I’m not sure how close this pie tastes to the real thing. All I know is that it’s good. Real good.

**This pie tastes super similar to these No Name Bars. So if you want to skip the pie but get all the good gooey flavor, you can find the tasty recipe here.

***I swear I ate three slices of this pie the day I made it. I only gained 5 pounds, but my weight shifts a lot, and I lost the 5 pounds the next week while I was working out. Splurge a little and make this pie. I promise you... it’s worth it :)

Happy Saturday!


Sunday, June 10, 2012

Healthy Nutella Fruit Smoothie


Hey, so omg! I just tasted a genius thing today. My family threw everything healthy they could find in the blender today and the result was delicious! This is going to become my new post-workout drink, and it is amazing! You must make this!


*Squeal* You’re going to love this!

Adios amigos!


Friday, May 18, 2012

Mini Pretzels


Hey guys! Well, I haven’t see you in uh... like 3 months. I don’t know if you’re reading this, but I really tried if anyone cares. I had stuff to blog about, I just, didn’t feel like going on my blog and well... blogging. Lol. So, let’s get down to business chicas. I’m going to be posting everyday for a few days to get rid of the crap I had. First I’m going to introduce the pretzels I made in March. They were pretty creative I have to say. However, the cheese sauce I cooked tasted horrible. It got hard after a few minutes. I don’t plan on making cheese sauces for the future. And since it wasn’t a very good recipe, I won’t tell you where I found it from. Instead my family just eat it with mustard. Ok. So here’s what I did.


Ingredients:
-a can of Pillsbury crescents
-1 egg, beaten
-sea salt for sprinkling
-mustard for dipping
Directions:
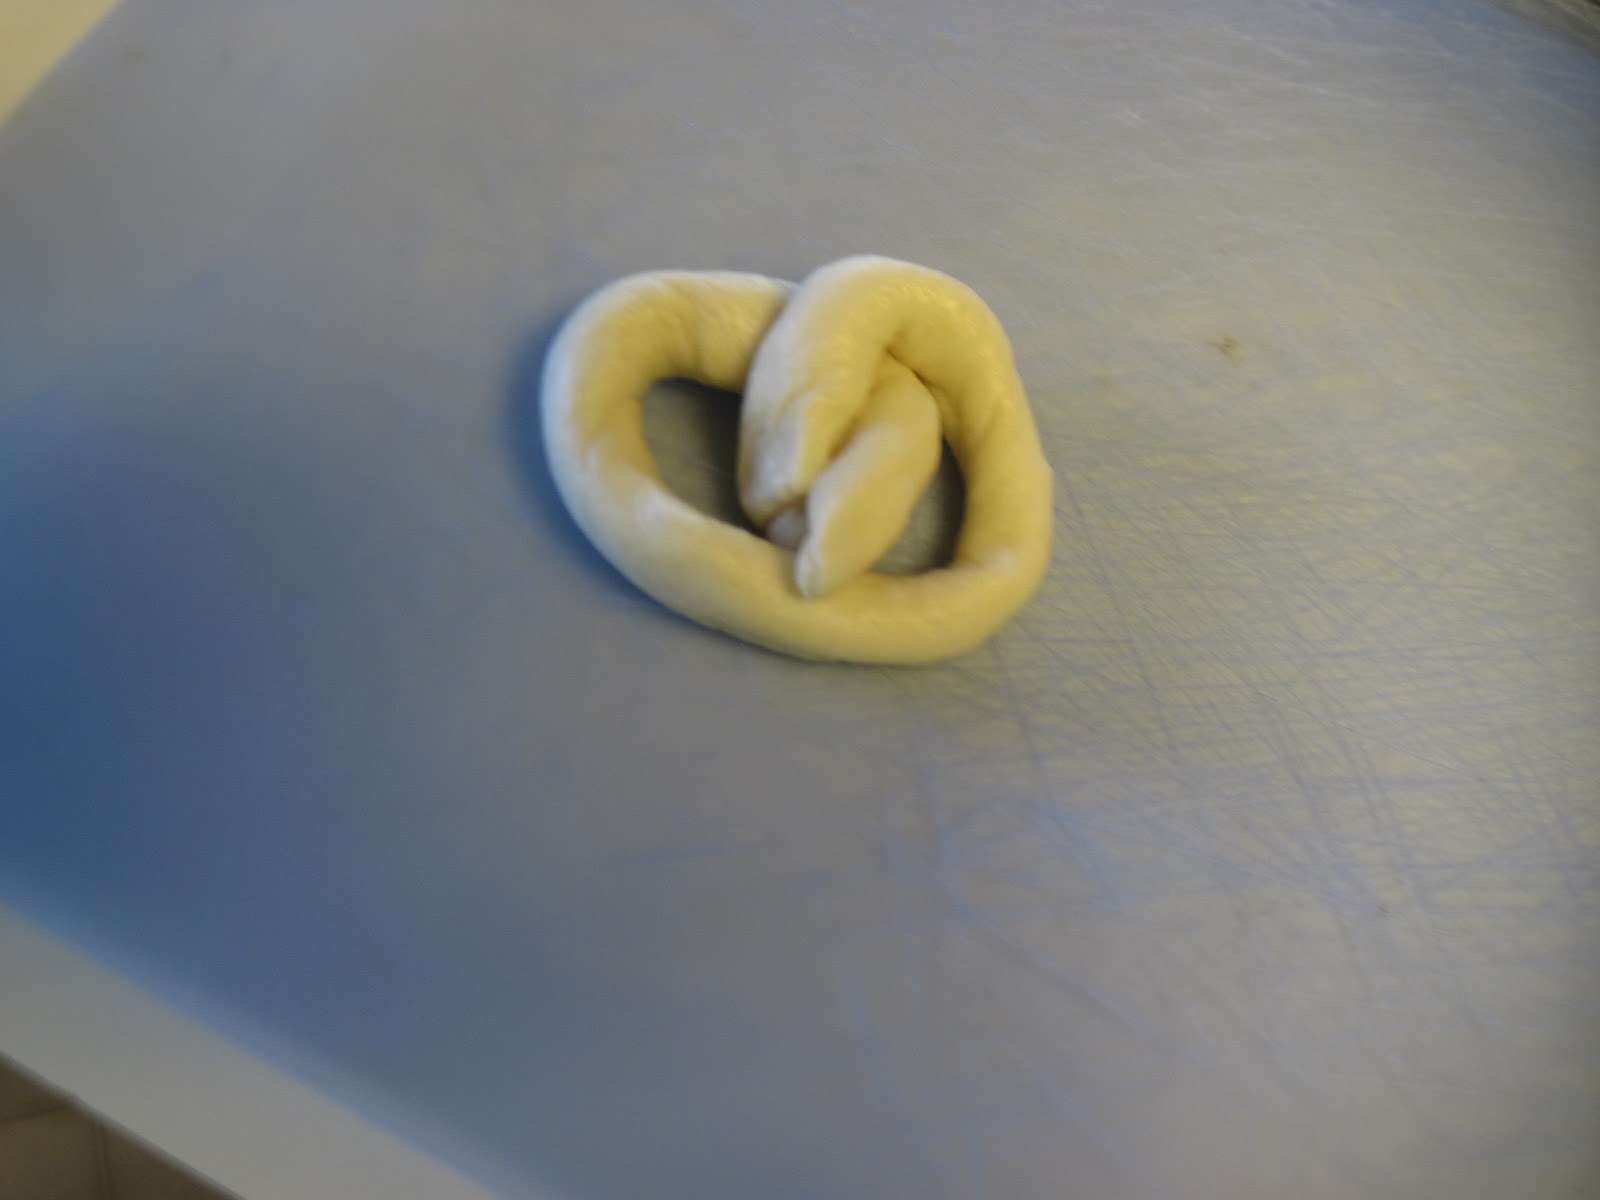
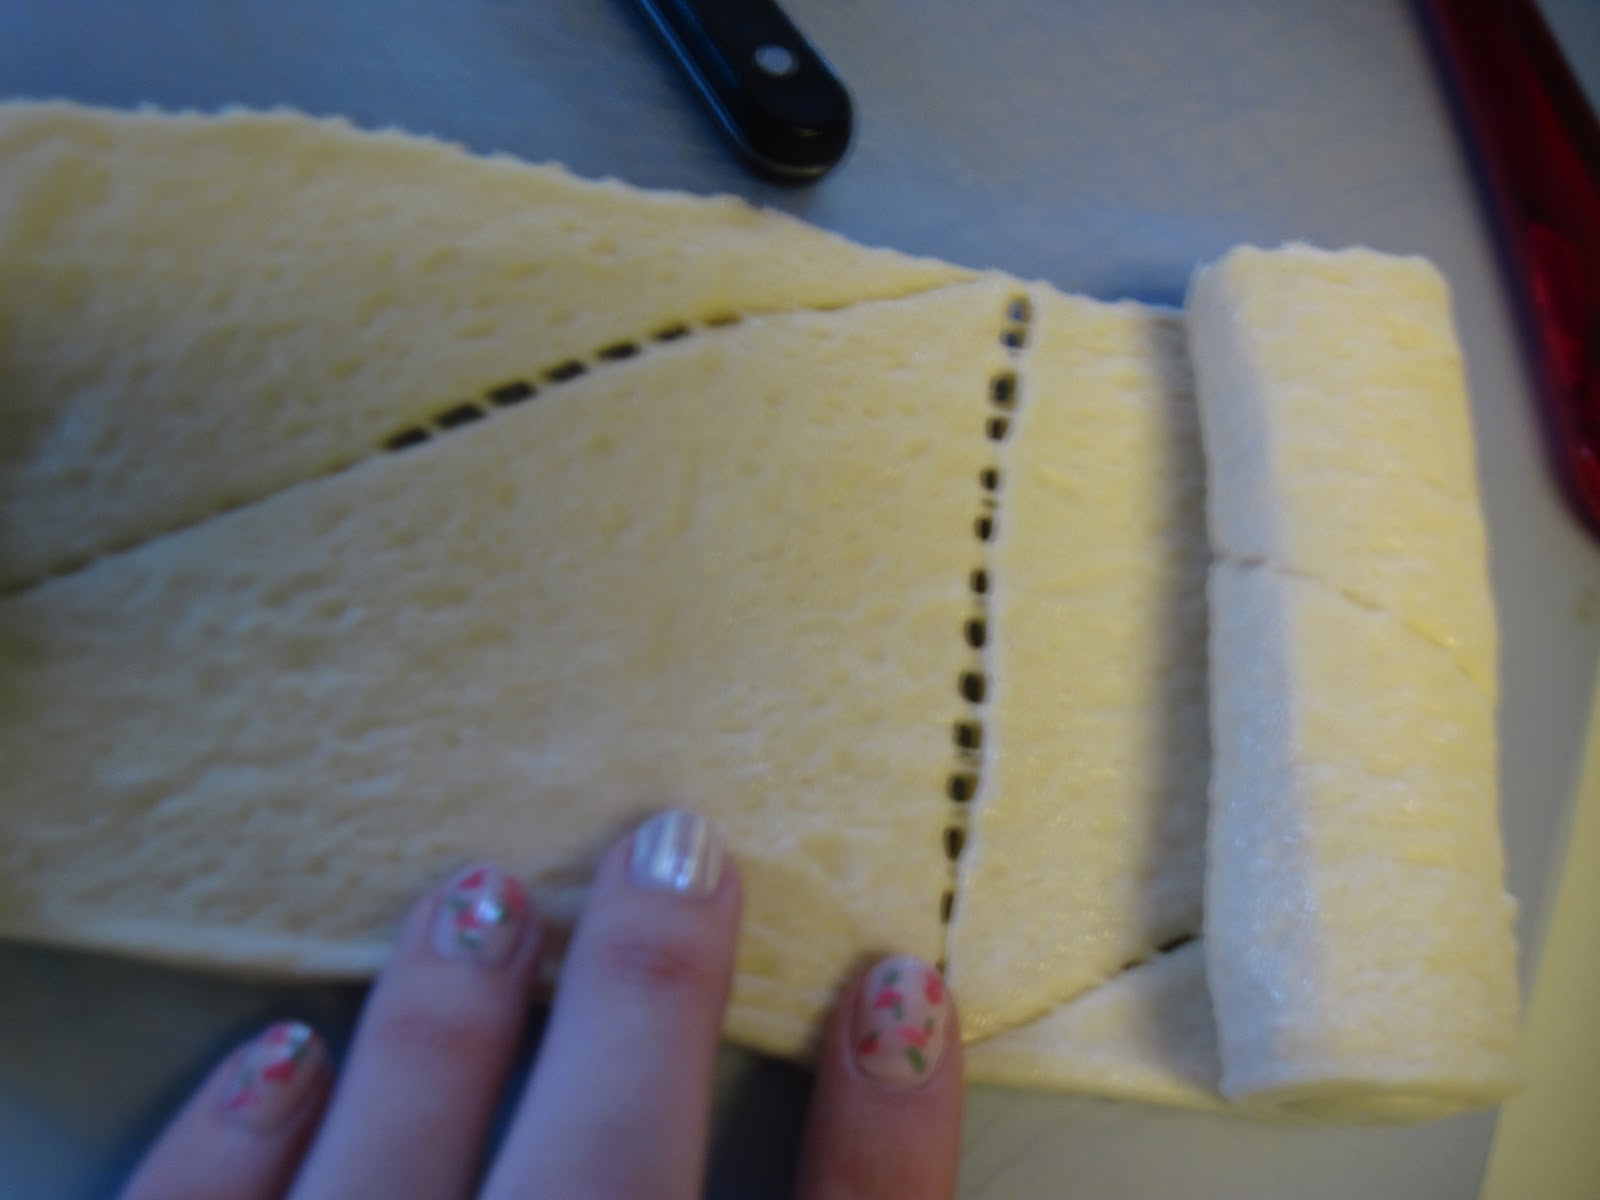
Split your crescent roll in half. I really don’t know how to explain the rest so follow the pictures. Press the seams together. Cut little strips of dough and roll them thinner. Twist into a pretzel (which I did really badly), and brush your pretzels with a beaten egg to get that pretty golden shade. Now sprinkle coarse/sea salt over all of the prepared pretzels. Sorry, but because I did this so long ago, I do not remember how long I cooked these for. I know it wasn’t that long. A bit shorter than the time on the can. Serve warm with mustard. Enjoy!


Wednesday, February 22, 2012

Garlic Butter Breadsticks


So today, I had decided that I needed to make my own breadsticks. And I was surfing the Internet for some recipes and all I saw were ones that you needed to make your own dough *yawn*. Who has time to wait for the dough to rise and all of that punching the dough and I didn’t want to get involved with that. So then, I was like, “Hey, there’s some crescent roll dough in the fridge that I need to use up.” And it hit me! I decided to make my own breadsticks.
For this recipe you will need...
-1 can of Pillsbury crescent rolls
-about 2 tablespoons butter (possibly extra if you want to brush some melted butter on after they’re cooked)
-1 teaspoon Italian seasoning
-1 teaspoon sea salt
-1 teaspoon dried oregano leaves
-1 clove garlic, mashed
-about 1/4 cup shredded mozzarella cheese

Cover a cookie sheet with aluminum foil. Set that aside. Using a separate mat or cutting board, unroll your crescent dough. DON’T separate the triangles. Push the creases and join them together to create one seamless sheet of dough.

Melt your butter in the microwave for about 10 seconds, just so it’s softened enough that you can mix through it. Mix the butter with your oregano leaves. I’m pretty sure it was around a teaspoon, but I just shook the container a few times and that seemed to be enough. Mix your garlic in thoroughly.


Spread your garlic butter mixture across the dough with an offset spatula or a plain old knife will also do. *You may also sprinkle mozzarella cheese on at this time or you can do it in a later step. Next time I make this I will do the mozzarella cheese before I twist the dough strips*


Cut your dough into even strips with a pizza cutter or a knife.


Twist it (like so) into spirals. As you can see I suck at this step.


If you didn’t already sprinkle your cheese please do so now. *If you get cheese on the foil it will burn so if you don't want those crackly, crusties hanging off your breadsticks, please make sure that the cheese is ONLY on the breadsticks :)*


Now shake salt and Italian seasoning all over the breadsticks.

Time for the oven! I baked these babies at 375 degrees for 11-13 minutes or you can just bake them according to the package of your crescent rolls :)

Yum! They smell so freakin’ good when they’re baking- and the flavor is so great when they come out. Brush with melted butter if you’re into all the grease and moistness or just eat them by their lonesome. They are guaranteed to fill you up. My family says the garlic flavor is perfect. Not too much. Not too little. Enjoy!


Monday, December 26, 2011

Peppermint Patties

I created these a few days ago for a holiday party. If you love peppermint, or someone you know does, make these! The peppermint lovers I know said they were SO good. Hope you like em’! They will be perfect in raising the festivity at your Christmas parties or holiday parties. Sorry I didn’t post them a few days earlier :(


Peppermint Patties
adapted from University of Cookie
Ingredients:
-2/3 cup shortening
-2/3 cup room temp butter (I use salted)
-1 1/2 cups sugar
-2 eggs
-2 teaspoons vanilla
-2 teaspoons baking powder
-1 teaspoon salt
-3 1/3 cups AP flour
-1 bag of Hershey’s Candy Cane Kisses
Directions:
1. Preheat to 350°
2. Cream butter, shortening and sugar together until light and fluffy.
3. On medium speed combine the eggs and vanilla until mixed well.
4. Over low speed add baking powder, salt and flour and mix until it comes together.
5. Pour half the bag of Hershey’s kisses into a Ziploc bag and crush them until broken into small chunks. Repeat with the rest of the Hershey’s kisses. They do not have to look perfect
6. Mix the crushed kisses into your dough slowly, until well incorporated.
7. Take your scoop and plop balls of dough 2 inches apart on a parchment lined baking sheet.
8. Bake 8 - 10 minutes until edges are golden. 
9. When cookies are done let them cool on baking sheet for 2-3 minutes and remove to a wire cooling rack.
recipe adapted from University of Cookie

Peppermint Frosting
adapted from University of Cookie
Ingredients:
-1/2 cup shortening
-4 1/2 cups powdered sugar (I didn't sift *gasp*)
-1/4 cups + 2 Tbsp milk
-1 t. peppermint extract
Directions:
1. Cream your shortening and powdered sugar together until smooth, slowly add your milk and peppermint extract.
2. Mix until smooth.
3. Pipe or spread your frosting on top of your cookies (I piped mine, but the frosting got smushed from the tin foil).

Enjoy!

Monday, December 12, 2011

Homemade Peanut Butter Cups

You’ll need your ingredients:
1 cups creamy peanut butter
¼ cup unsalted butter
¼ cup light brown sugar
1¼ cups powdered sugar
4 cups milk chocolate chips (two 11.5-oz bags)
¼ cup vegetable shortening

Prepare your mini muffin tin and your pan. I used foil, not parchment paper, on my cookie sheet, only because I didn’t have any.

Melt your peanut butter, butter, and brown sugar over medium heat until melted and bubbling, just a little.


Add your powdered sugar ¼ cup at a time, stirring well after each addition.

Melt your chocolate chips with your shortening.

From there you fill your cups with a few teaspoons of chocolate. Refrigerate for 30 minutes, drop in your peanut butter patties, fill with more chocolate, and refrigerate again. These aren’t the exact steps, I’m sorry, but I found this recipe on Brown Eyed Baker so you can just head on over there.


I found this adorable little tin at Hobby Lobby for I think like a buck or two. I layered my peanut butter cups over each other.

I made this little tag by cutting a “3 1/2” circle out of holiday scrapbooking paper and printing out another tag on the computer.

I tied red twine from The Twinery around the tin with the tag I made.

The gift went to my mom’s friend’s son who is sick in the hospital. With all of his strength and positivity about everything he is taking it very well.

Cute, right?

Bye, bye!


Friday, December 9, 2011

Little Snowmen Cake Pops

Wait to see what I have for you today!

Look at this darn thing! I can’t believe I made it. When I first saw them on Bakerella, I didn’t even know how it was possible to make these. They looked so amazing, but complicated. Really, they’re not. It’s getting easier and better to make cake pops the more I make them, but I still have the cracking problem of the chocolate coating. That disappoints me. But still, I think they turned out AWESOME. As long as you have everything set up, it should go by in a breeze.

Snowmen Cake Pops
Ingredients:
-1 box cake mix (I used Duncan Hines French Vanilla Cake Mix)
-1 can frosting that coordinates with cake mix
-colored chocolate wafers (I got a pound of them but 1 and 1/2 pounds might be safer)
-1 bag sucker sticks
-1 bag Nestle Semi-Sweet Chocolate Mini Morsels
-1 tube of chocolate-coated sunflower seeds (I found them at Jo-Ann Fabrics in the checkout line)
-1 package regular oreos
-1 bag mini oreos
-Americolor Gourmet Writer Food Decorating pen
-styrofoam block
  1. You are going to follow most of the steps from the Pumpkin Cake Pops.
2. Slice all of the creme fillings out of your Oreos, and get them into a pile.

3. Form hats by melting some candy wafers, putting a dollop on the top of your Oreo, and sticking a mini one on top.

4. Mini hats! Too cute, right? I love these little things.

5. Once you dip your pops in your melted coating, press an Oreo hat on and push in an orange sunflower seed.

6. Let them dry in your styrofoam block.

When I did this step, there was a cake pop massacre. They all fell out of the styrofoam block from the weight of the hat and it was a fail. So what does that mean?

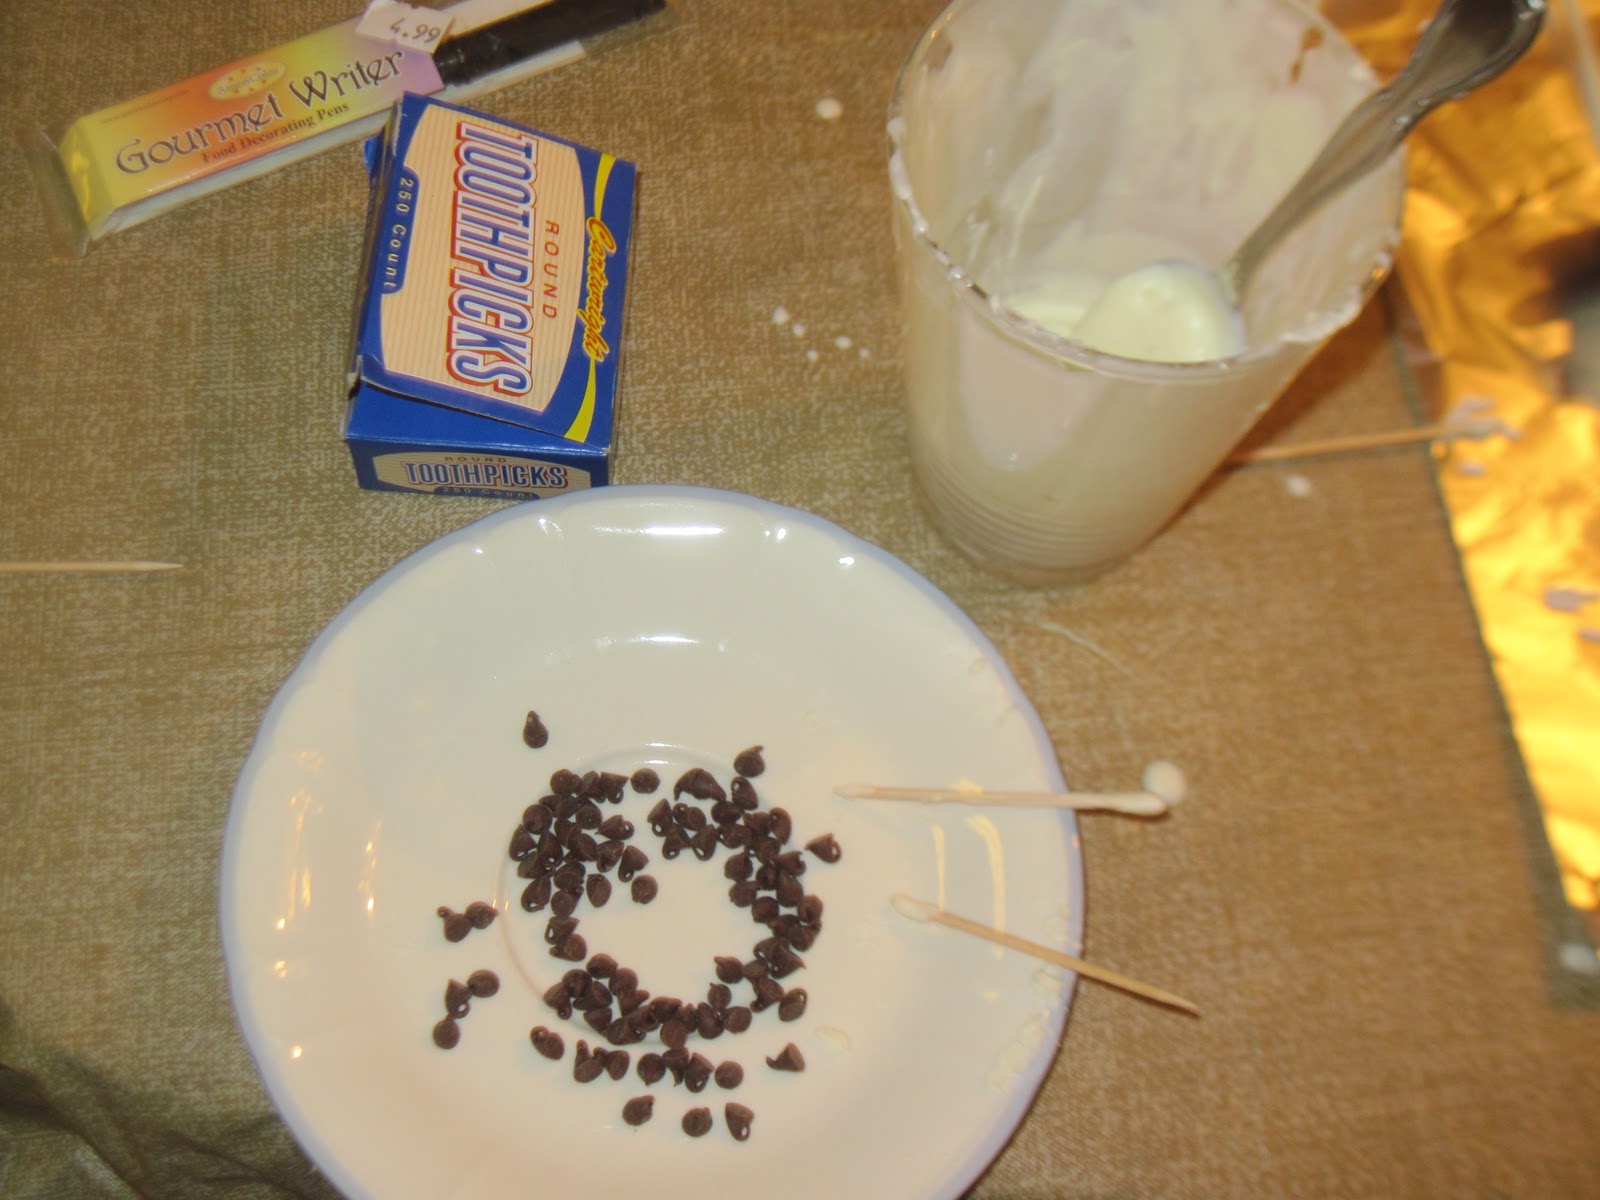
Cake pop surgery! Time to sterilize the chocolate glue and mini chocolate chips.

They are just coming to from the anesthesia.

7. Stick your cake pops in clear little bags and tie with a twist-tie.


8. I cut out little tags on my Cricut with some cute holiday paper and I stuck my Merry Christmas Labels on them.


9. Hole-punch all of your tags.

10. Cut out your holiday ribbon.

11. Weave it through.

12. Tie your ribbon around your cake pops.


And there you are!

Don’t cha love em’?

That’s a heck load of cake pops!

Enjoy the little fellas!


Happy baking!