Showing posts with label Holiday. Show all posts

Friday, January 6, 2012

New Nails for a New Year

These confetti nails will give you a burst of glitter for New Years’ Eve. How did I do it? First, leave your nails long but file them. I didn’t cut mine much or file, and they broke and kept on getting caught on my clothes, so after about a week I had to saw those killers off. Do NOT cut them for this design. I did, and now my nails look stubby and tacky. But DO file them.
*P.S. I meant to post this New Years’ Eve. Sorry I didn’t.*

For this design you’ll need:
-base coat
-glitter polish
-confetti polish or glitter hexagons
Directions: Coat your nails with your clear polish. Paint the white part of your nails (the top part) with glitter polish. I didn’t do a very good job at this. With your confetti polish, in a dabbing motion, paint the rest of your nails. Make sure to have enough confetti so it doesn’t look tacky. Hope you like this!


Monday, December 26, 2011

Peppermint Patties

I created these a few days ago for a holiday party. If you love peppermint, or someone you know does, make these! The peppermint lovers I know said they were SO good. Hope you like em’! They will be perfect in raising the festivity at your Christmas parties or holiday parties. Sorry I didn’t post them a few days earlier :(


Peppermint Patties
adapted from University of Cookie
Ingredients:
-2/3 cup shortening
-2/3 cup room temp butter (I use salted)
-1 1/2 cups sugar
-2 eggs
-2 teaspoons vanilla
-2 teaspoons baking powder
-1 teaspoon salt
-3 1/3 cups AP flour
-1 bag of Hershey’s Candy Cane Kisses
Directions:
1. Preheat to 350°
2. Cream butter, shortening and sugar together until light and fluffy.
3. On medium speed combine the eggs and vanilla until mixed well.
4. Over low speed add baking powder, salt and flour and mix until it comes together.
5. Pour half the bag of Hershey’s kisses into a Ziploc bag and crush them until broken into small chunks. Repeat with the rest of the Hershey’s kisses. They do not have to look perfect
6. Mix the crushed kisses into your dough slowly, until well incorporated.
7. Take your scoop and plop balls of dough 2 inches apart on a parchment lined baking sheet.
8. Bake 8 - 10 minutes until edges are golden. 
9. When cookies are done let them cool on baking sheet for 2-3 minutes and remove to a wire cooling rack.
recipe adapted from University of Cookie

Peppermint Frosting
adapted from University of Cookie
Ingredients:
-1/2 cup shortening
-4 1/2 cups powdered sugar (I didn't sift *gasp*)
-1/4 cups + 2 Tbsp milk
-1 t. peppermint extract
Directions:
1. Cream your shortening and powdered sugar together until smooth, slowly add your milk and peppermint extract.
2. Mix until smooth.
3. Pipe or spread your frosting on top of your cookies (I piped mine, but the frosting got smushed from the tin foil).

Enjoy!

Thursday, December 22, 2011

Snowbars


These cuties came from this blog. I made them for a few friends yesterday and they all loved them. They are not hard at all and they make an awesome little treat for a casual friend, coworker, teacher, or neighbor.


Snowmen Candy Bars:
Supplies:
-Photo paper OR computer paper (regular paper) P.S. How much sheets depends on how many snowmen you are making
-Hershey’s bars OR any favorite candy bar
-1 pack baby socks (color of your choice)
-buttons
-black and orange permanent markers
-twine (mine was from The Twinery) OR ribbon
-double-stick tape OR other adhesive

Directions:
1.) Prepare your Hershey’s bars. Cut your photo paper into rectangles that are 6 × 6 1/2 inches.

2.) Center your bars in the middle of the rectangle, then fold one side over and tape it halfway on the bar and halfway on the photo paper.
3.) Fold other side over. Turn Hershey’s bar over.
4.) It’s time to begin the fun part! Take out your baby socks and cut off the toe part.


5.) Stretch this over the head of your snowman (the top of the Hershey’s bar).

6.) Draw on your eyes with a black Sharpie.

7.) Don’t forget the carrot nose and his mouth!

8.) Tie your hat with a bow made of twine or ribbon.


9.) Adhere two buttons with a glue gun, tape, or glue dots.


Look at these adorable little beanies!

Hope you can make some little snowbars yourself as a last minute present!

Bye, bye!


Friday, December 16, 2011

What's IN This Christmas Season

This Christmas and New Years’ Eve, it’s your turn to show off those sparkles and rock the red, green, and SILVER! Here are a few tips and ideas to make you stand out under the mistletoe.
Denim
This gorgeous denim polish pretties up any outfit this season. It goes with pretty much any pattern, florals or stripes, and you will steal all the attention.
Find: $9 Essie Bobbing for Baubles

Glitter
Glitter makes a perfect disco ball appearance to your fingertips and an even more perfect addition to your New Years’ Eve assemble.
Find: $14.99 OPI Muppets Collection Rainbow Connection

Fur Mittens
 Your fingers will be all toasty and warm and they’ll look cute at the same time!
Find: $19.50 Aerie Convertible Mittens from Aerie

Fair Isle Sweaters
Paired with pants, a skirt, or leggings, this holiday trend is too darn cute. They’ll provide you with plenty of cozy but cute outfits during the rest of winter.
Find: $70.80 Free People Cropped Fair Isle Pullover Sweater from Bloomingdale’s


Hope these quick ideas will keep you looking sleek and chic at your upcoming parties.
Bye, bye!


Friday, December 9, 2011

Little Snowmen Cake Pops

Wait to see what I have for you today!

Look at this darn thing! I can’t believe I made it. When I first saw them on Bakerella, I didn’t even know how it was possible to make these. They looked so amazing, but complicated. Really, they’re not. It’s getting easier and better to make cake pops the more I make them, but I still have the cracking problem of the chocolate coating. That disappoints me. But still, I think they turned out AWESOME. As long as you have everything set up, it should go by in a breeze.

Snowmen Cake Pops
Ingredients:
-1 box cake mix (I used Duncan Hines French Vanilla Cake Mix)
-1 can frosting that coordinates with cake mix
-colored chocolate wafers (I got a pound of them but 1 and 1/2 pounds might be safer)
-1 bag sucker sticks
-1 bag Nestle Semi-Sweet Chocolate Mini Morsels
-1 tube of chocolate-coated sunflower seeds (I found them at Jo-Ann Fabrics in the checkout line)
-1 package regular oreos
-1 bag mini oreos
-Americolor Gourmet Writer Food Decorating pen
-styrofoam block
  1. You are going to follow most of the steps from the Pumpkin Cake Pops.
2. Slice all of the creme fillings out of your Oreos, and get them into a pile.

3. Form hats by melting some candy wafers, putting a dollop on the top of your Oreo, and sticking a mini one on top.

4. Mini hats! Too cute, right? I love these little things.

5. Once you dip your pops in your melted coating, press an Oreo hat on and push in an orange sunflower seed.

6. Let them dry in your styrofoam block.

When I did this step, there was a cake pop massacre. They all fell out of the styrofoam block from the weight of the hat and it was a fail. So what does that mean?

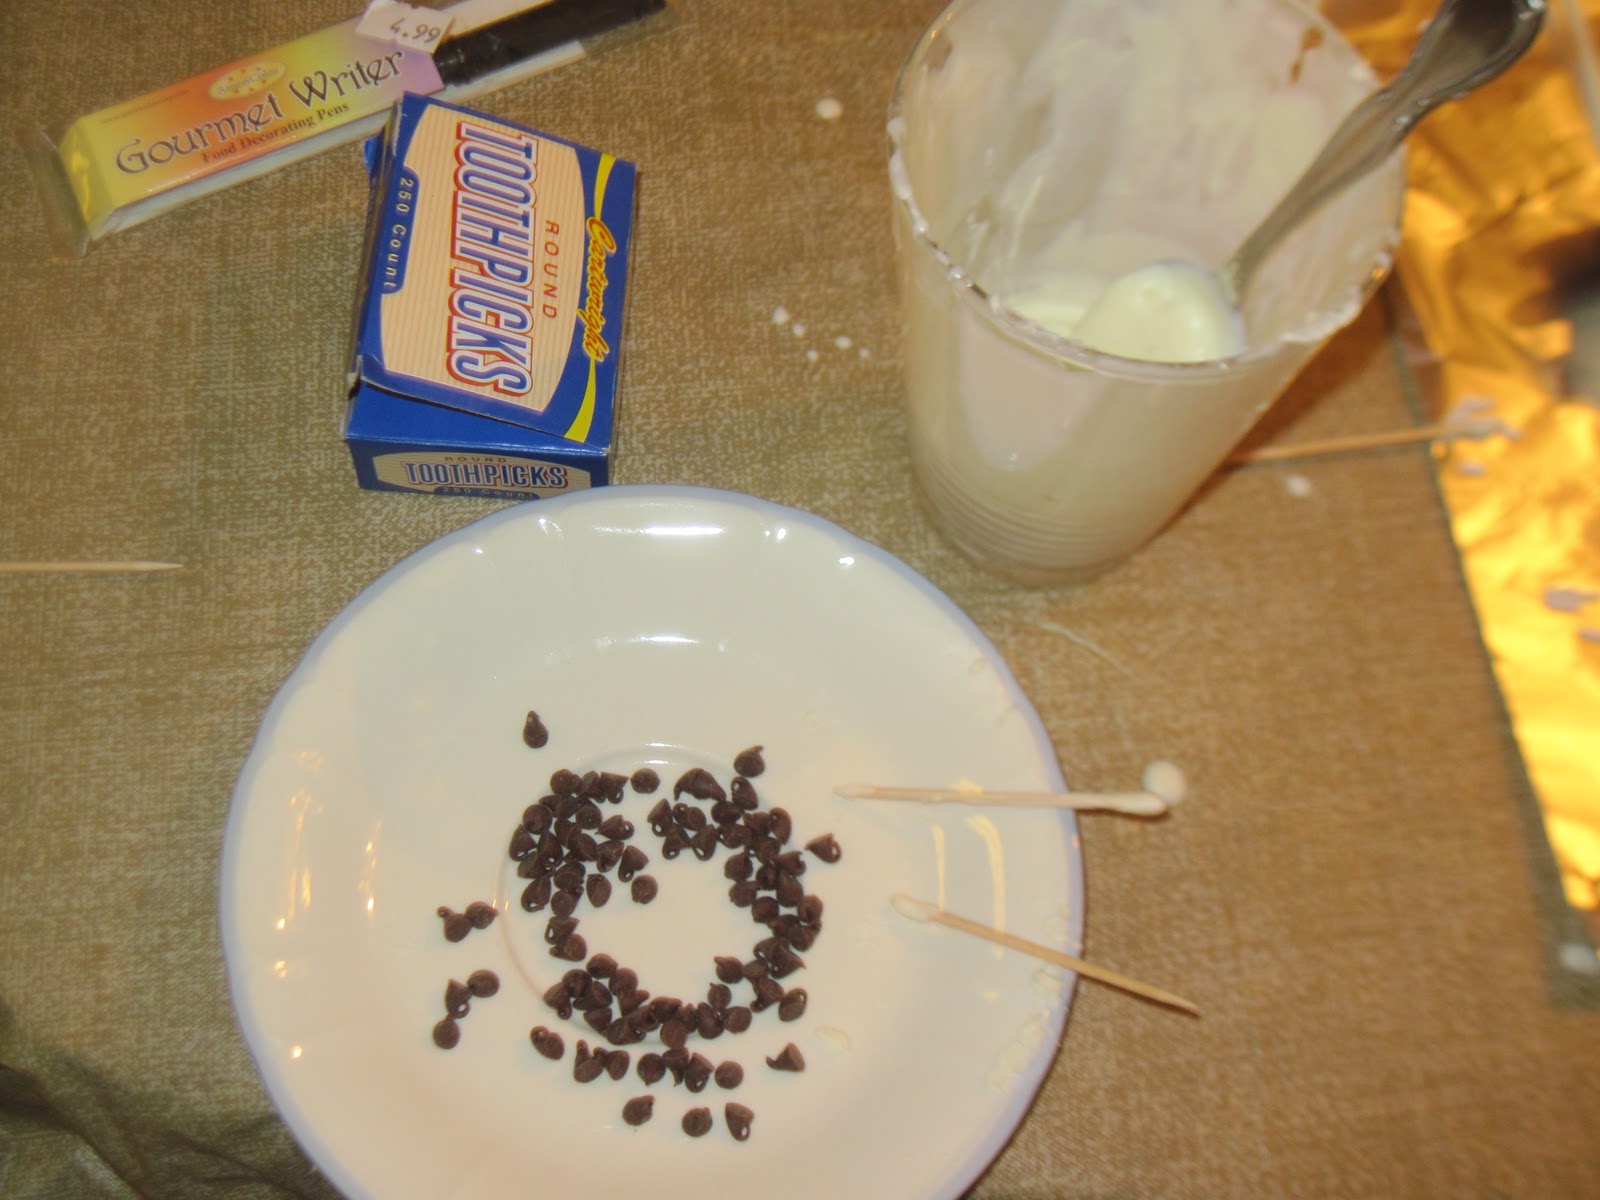
Cake pop surgery! Time to sterilize the chocolate glue and mini chocolate chips.

They are just coming to from the anesthesia.

7. Stick your cake pops in clear little bags and tie with a twist-tie.


8. I cut out little tags on my Cricut with some cute holiday paper and I stuck my Merry Christmas Labels on them.


9. Hole-punch all of your tags.

10. Cut out your holiday ribbon.

11. Weave it through.

12. Tie your ribbon around your cake pops.


And there you are!

Don’t cha love em’?

That’s a heck load of cake pops!

Enjoy the little fellas!


Happy baking!

Saturday, December 3, 2011

Merry Christmas Tags {Free}

So, last night I got a little creative and created these Christmas Tags:

This is just a little preview but you can download them using the links below.
I plan to hole-punch them, slide some holiday ribbon through, and tie them on the cake pops I’m making for Tuesday. You can download them for free to use to attach for any festive holiday gift if you'd like. Hope you enjoy them!


Merry Christmas Tags {Pages Download}
Merry Christmas Tags {Word Document Download}
Bye, bye!

Friday, November 25, 2011

Thanksgiving Desserts

Well, I’m sorry I forgot to wish you all a “Happy Thanksgiving” yesterday. I was gone all day. But still, Happy Thanksgiving! And Black Friday. Did anyone go shop? I checked out Walmart and it was insane. Lines stretched all the way to the back of the store.

I just wanted to show you today what I made for Thanksgiving. I was supposed to bring cookies, but I decided on two things: Soft Sugar Cookies and Pumpkin Pie Bites.


I tinted the frosting a dark orange color and piped it on. Isn’t it so pretty?

And now for the bites! Everyone loved em’!


Bye, bye!


Sunday, November 6, 2011

Everyone Needs a Little POP in Their Life

Hello! I’m back again. I stopped blogging for a week. Or too. And I made this cake pops for Halloween. Can you believe it? This is my first time making this lovely treats. Actually, it’s my second, but I made chick cake pops for easter last year back when my blog was lame and I posted every 2 weeks.
But seriously? Look at these things!

Aren’t they so darn adorable?
But if you’d like to see how to make them, I’ll give you a step by step tutorial right here or you can go to this site, which was where I originally found the idea.


Pumpkin Cake Pops

Ingredients:
-1 box cake mix (I used Betty Crocker Super Moist Devil’s Food Cake Mix)
-1 can frosting that coordinates with cake mix (I used Duncan Hines milk chocolate frosting)
-colored chocolate wafers (I got a pound of them but 1 and 1/2 pounds might be safer)
-1 bag sucker sticks
-1 bag Nestle Dark Chocolate & Mint Morsels
-Americolor Gourmet Writer Food Decorating pen
-styrofoam block


Do you see this mini vampire? I stole it from the mini haunted house me and my dad made years ago and have on display every halloween. Vicious!

1. Okay, so bake up your cake according to the directions on the back of the box and let it cool. Crumble it up until it is nice and fine.

2. Next, mix 1 can of frosting evenly throughout the cake mix. You will probably need to use your fingers for this. Bakerella says that you may not use the whole can of frosting, but it’s easier to just get rid of it at one time, unless you have a different recipe that needs a teensy amount of frosting.

3. Now it’s time to take your trusty scoop to use as a base for your balls.


4. After you scoop up your cake, drop the ball into your hands and sculpt it until it has a perfect form.

5. I refrigerated the cake balls for a little while, just so they’d firm up slightly, for about 15  minutes.


6. Put a good amount of your wafers into a tall glass (I used one from a set we got from Ikea) and melt them until the chocolate is smooth and watery (this doesn’t mean adding water to it).
7. Make sure you don’t over-microwave this. Chocolate can burn! You can prevent burning by microwaving in 30-second intervals. Stir quickly after each heating. If you don’t work fast your chocolate will harden. After most of the chocolate is melted and just a few wafers are still intact, start microwaving at 15 and 10-second intervals.


8. Get ready to poke the sucker stick into the ball. Spoon up some chocolate, and roll the very end of the stick in the chocolate. Stick it immediately into the ball.
9. Repeat with all of your cake balls. Place in the freezer for almost half and hour, or until they are very firm.
10. Now it’s time to dip! Refill and microwave your chocolate as you need during this process. Take your cake pops out of the freezer one by one, so they are still freshly cold and won’t fall off. Dip them in until they are completely covered; turn them around to make sure they are.
11. Tap your excess chocolate off.
12. It’s a miracle.
13. Place in your styrofoam block. Repeat with every other cake pop.

14. Time for decorations!
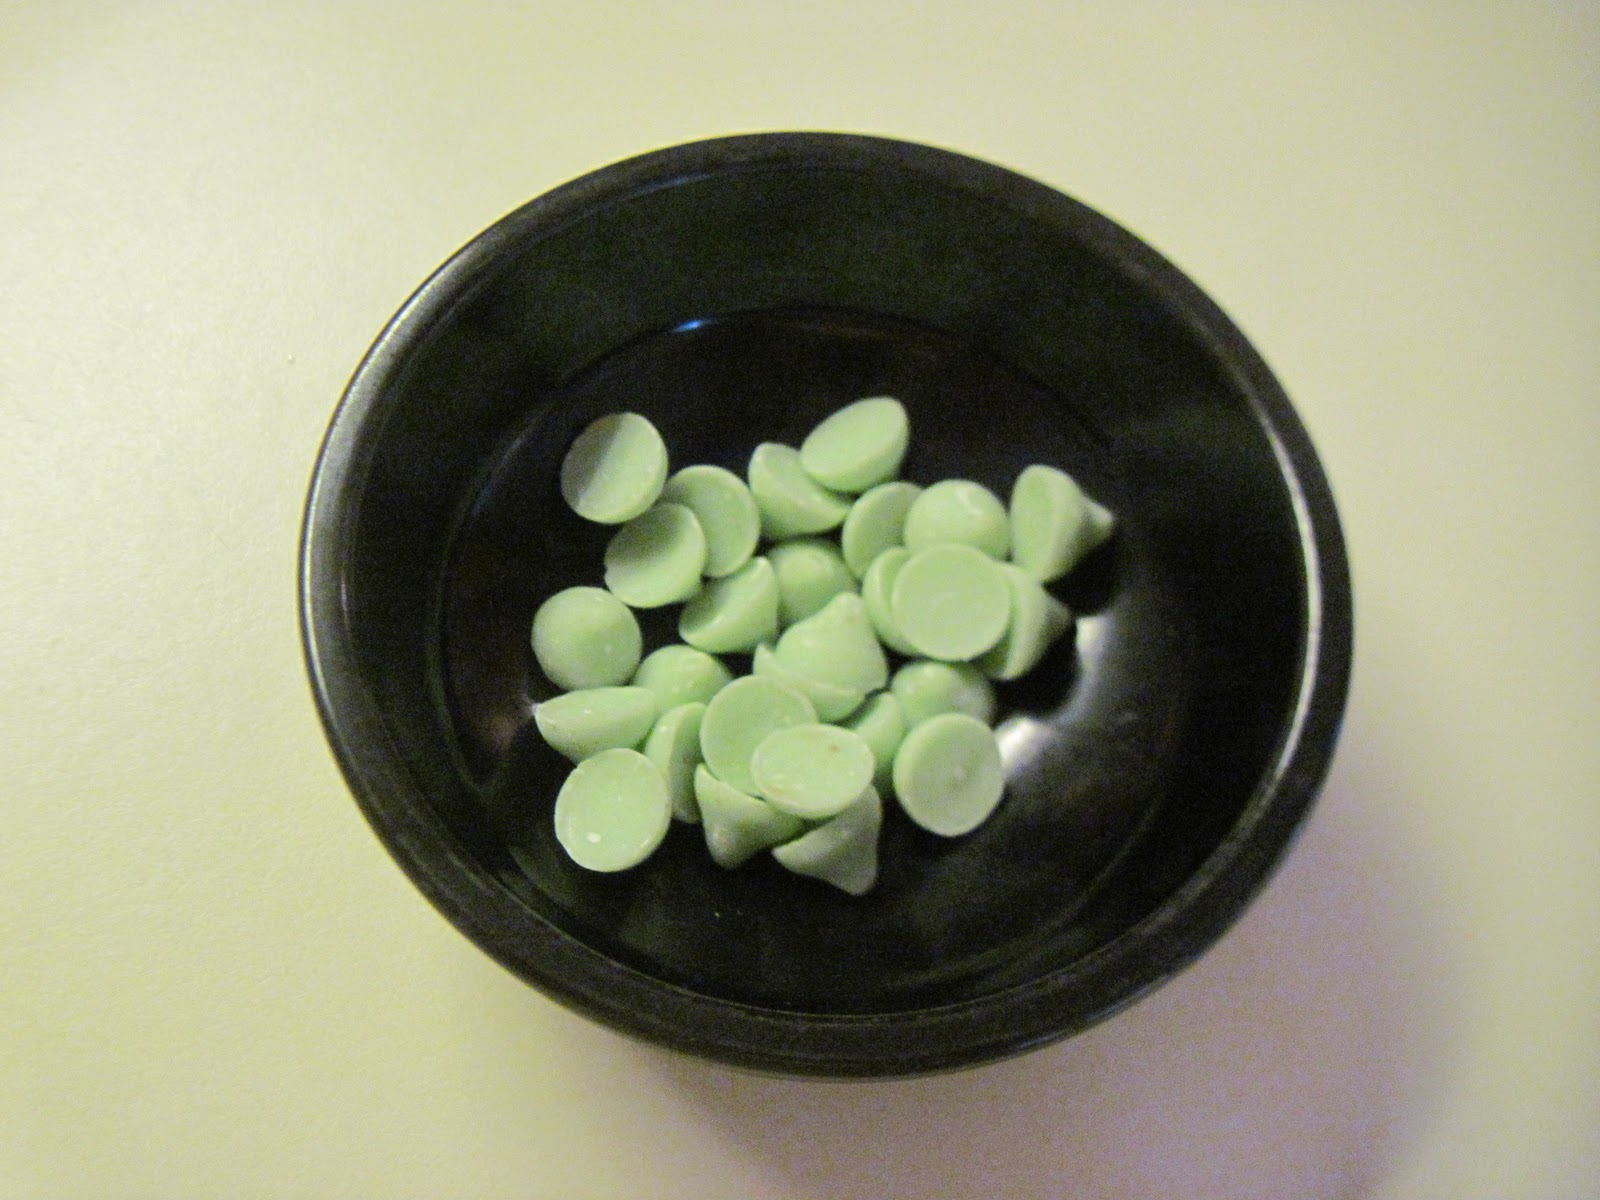
15. Now set up your stem station. Grab your bag of morsels. Separate the dark chocolate chips from the mint ones. Put them into a small bowl.

16. Look how darn cute this bowl is! Perfect for Halloween. Apparently it’s a salsa bowl, but it looks exactly like a cauldron, right?


17. When you are decorating, toothpicks are your best friends. Use them wisely. Transfer your melted chocolate to a small, short bowl and work with it. Dip your toothpick into the chocolate and then drop a dollop on the top of your cake pop (this acts as glue).
18. Push a mint chip firmly onto the cake pop. Do this with all cake pops.


19. And when there were no more chocolate wafers, we had to melt two bags of Nestle white chocolate chips. That wasn’t such a good idea. Apparently, this is why those are used for cookies and the wafers are for melting. Lightbulb? The cake pops dipped in the regular melted chips turned out lumpy, chunky, and were sprinkled with old pumpkin sprinkles. Oh well.
Yay! I smell cuteness.


20. Use your Americolor pen to draw faces! (Mine are slightly unattractive LOL:)


21. And of course I was giving these pops up, so I had to present them nicely. I found these old paper Halloween bags in a cupboard and I bought a small pack of clear bags at Hobby Lobby for like 99 cents. Happy dance! So...
22. I put the cake pop in the clear bag.
23. Then I placed that bag in the paper bag.
24. I took my handy stapler, and pinched the sucker stick (holding it in place) while I stapled the bag to the left and right of it. 
Perfection.

Don’t you love these?


Bye, bye!

*Note: This should have been posted on Halloween*