Sunday, December 4, 2011

Cheesy Ham & Cheddar Crescents


Last night I was hungry for something buttery and cheesy. And in the fridge {GASP}, there was a can of Pillsbury crescent rolls. So I’ve been watching their recipe videos lately, and I wondered if I could transform a plan crescent roll into something much more. Like a midnight snack. Hence, these were born:

They are very greasy/buttery, so if you don’t like that you can just skip the butter steps. Hope you enjoy them!
Bye, bye!

Saturday, December 3, 2011

Merry Christmas Tags {Free}

So, last night I got a little creative and created these Christmas Tags:

This is just a little preview but you can download them using the links below.
I plan to hole-punch them, slide some holiday ribbon through, and tie them on the cake pops I’m making for Tuesday. You can download them for free to use to attach for any festive holiday gift if you'd like. Hope you enjoy them!


Merry Christmas Tags {Pages Download}
Merry Christmas Tags {Word Document Download}
Bye, bye!

Thursday, December 1, 2011

Clever Ideas to Deal with Pumpkin Pie and Crust Scraps

So, I must have made my pumpkin pie bites from the earlier post a bit small than Bakerella’s. But, hey, I’m not one to follow the crowd (and that was a pinch of sarcasm for the day).
Because I had a heck load of pumpkin filling and pie crust left over. So, here is what I did with it:
INTRODUCING:
Idea #1 Cupcake-sized Pumpkin Pies (hey, it rhymes!)
Ingredients
-pumpkin pie filling (I used leftovers from the Pumpkin Pie Bites)
-refrigerated pie dough (I used leftovers from the Pumpkin Pie Bites)
  1. Use a pumpkin-shaped cookie cutter to cut out shapes of dough.
  2. Push the pumpkin-shaped pie crusts gently into a cupcake pan, folding the dough the hangs over into the cup.
  3. Fill with your pie filling.
  4. Bake at 350 for about 18 minutes (this is what I think I cooked it at)
And here is the process:


Enjoy! 

Friday, November 25, 2011

Thanksgiving Desserts

Well, I’m sorry I forgot to wish you all a “Happy Thanksgiving” yesterday. I was gone all day. But still, Happy Thanksgiving! And Black Friday. Did anyone go shop? I checked out Walmart and it was insane. Lines stretched all the way to the back of the store.

I just wanted to show you today what I made for Thanksgiving. I was supposed to bring cookies, but I decided on two things: Soft Sugar Cookies and Pumpkin Pie Bites.


I tinted the frosting a dark orange color and piped it on. Isn’t it so pretty?

And now for the bites! Everyone loved em’!


Bye, bye!


Tuesday, November 22, 2011

Cheetah Fingernails

Ah, the glory of the difference of these two designs. Remember my Cheetah Toes post back in August? Well, let the memories flood back. This time I did my nails myself and painted my fingernails, not my piggies. I’m so sure that the last one was better, but here they are!

What I did was coat the nail polish brush very lightly. If you have too much polish you will have big blobs, not cheetah spots. Be careful, and the messier, the better. Remember, this is cheetah print, not perfect zebra stripes. It comes easier the more nails you do. Just dab your brush onto your nail in very quick, sharp movements until you create spots.

Have fun and try this out! Mistakes are natural!
Bye, bye!

Sunday, November 20, 2011

Short & Sweet: Tiramisu Teacups

One quick post right now. Look at these cuties!

Yes, I’m not kidding. These are chocolate teacup molds filled with mousse and whipped cream. NOT KIDDING. Oh, and topped with chocolate shavings. Yummety yumm yumm.

These came from an awesome Italian market. And they are DELISH!

Good luck not drooling. Ha ha. These are so freakin’ adorbs! I wanna make them!

Bye, bye!

Sunday, November 13, 2011

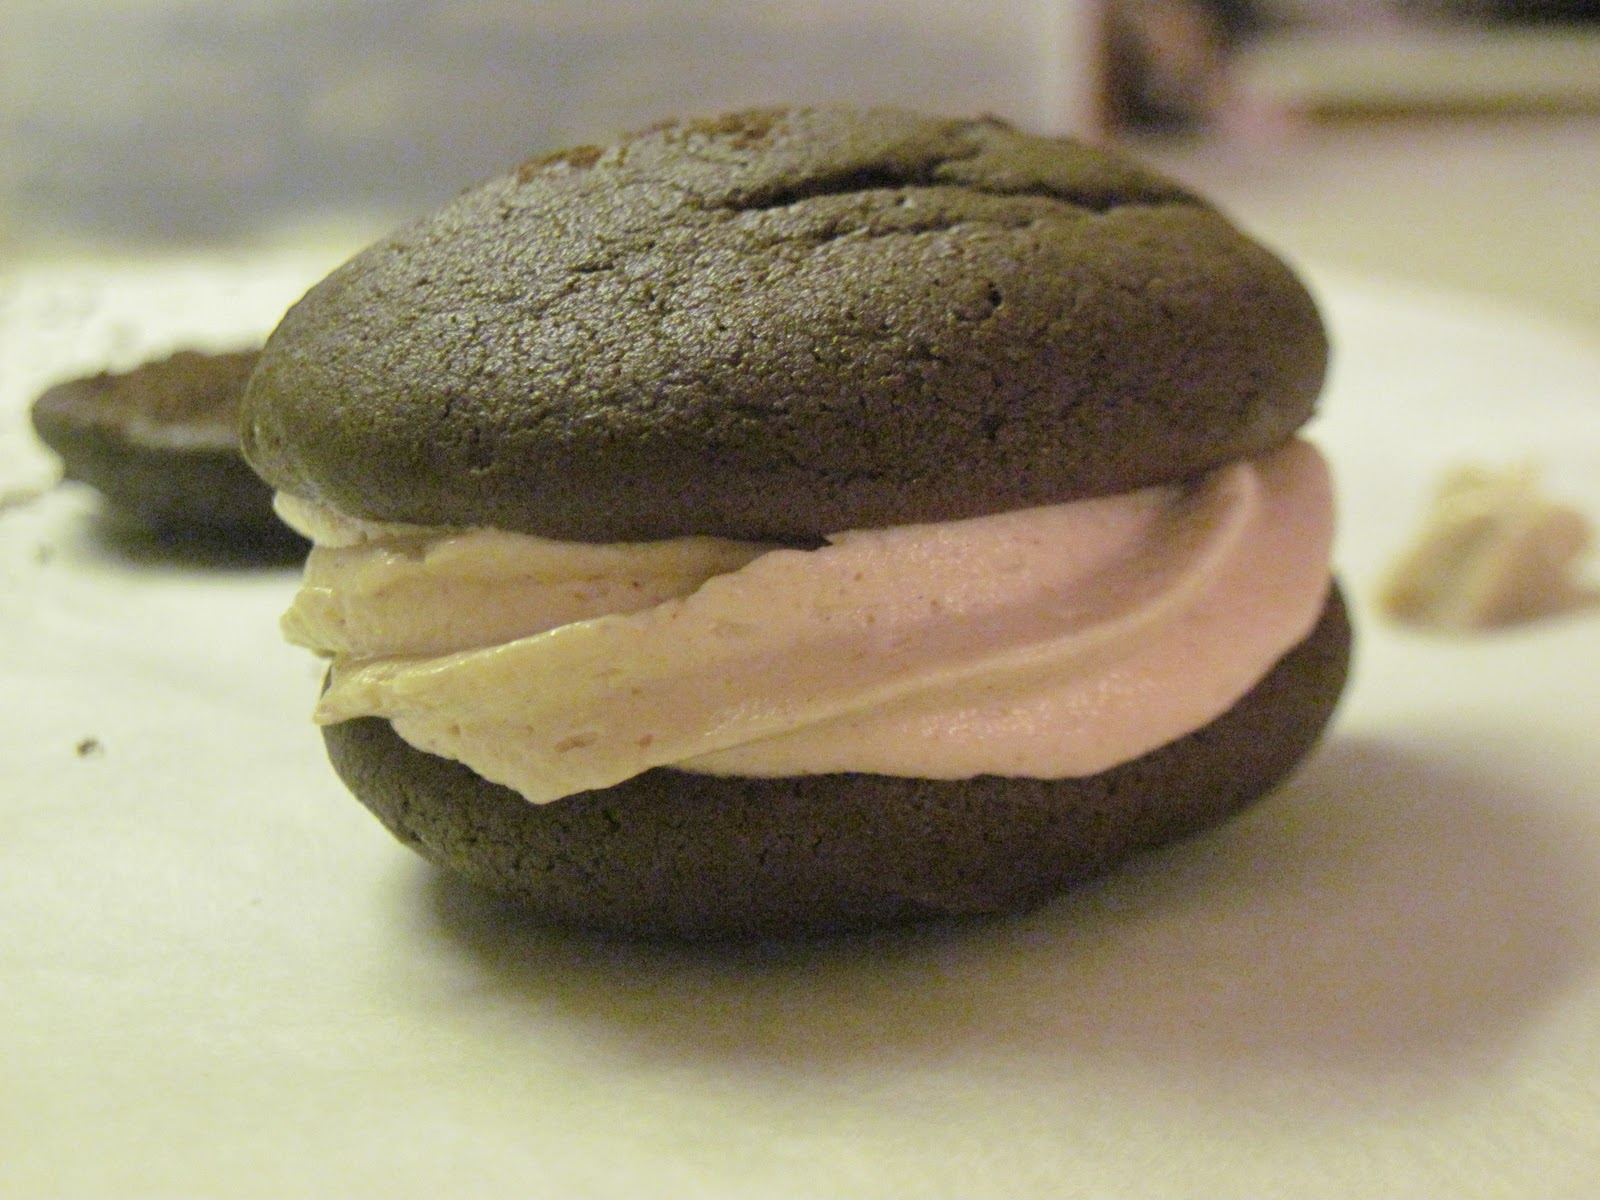
I Scream, You Scream, We All Scream for... Whoopie Pies?

Do you want to know how I spent Saturday night?
Bonding with my sister. Mmm..hmm. Making whoopie pies. Want to know how? Come on and see!


Get your ingredients together. You’ve got your flour, dark brown sugar, baking soda, salt, vanilla, unsweetened cocoa powder, and vegetable shortening.
Mix together your flour, cocoa, baking soda, and salt. I don’t really think you need to sift it. I didn’t and they turned out fine.


Now crack your egg and mix that and the vanilla in too.
Add the flour and liquid mixture together.

Mix, mix, mix until it is all perfect and smooth. Do you see that peak? Isn’t the batter so perfect.

Yummy batter!

Use a cookie scoop to drop teaspoons onto a parchment-lined cookie sheet.

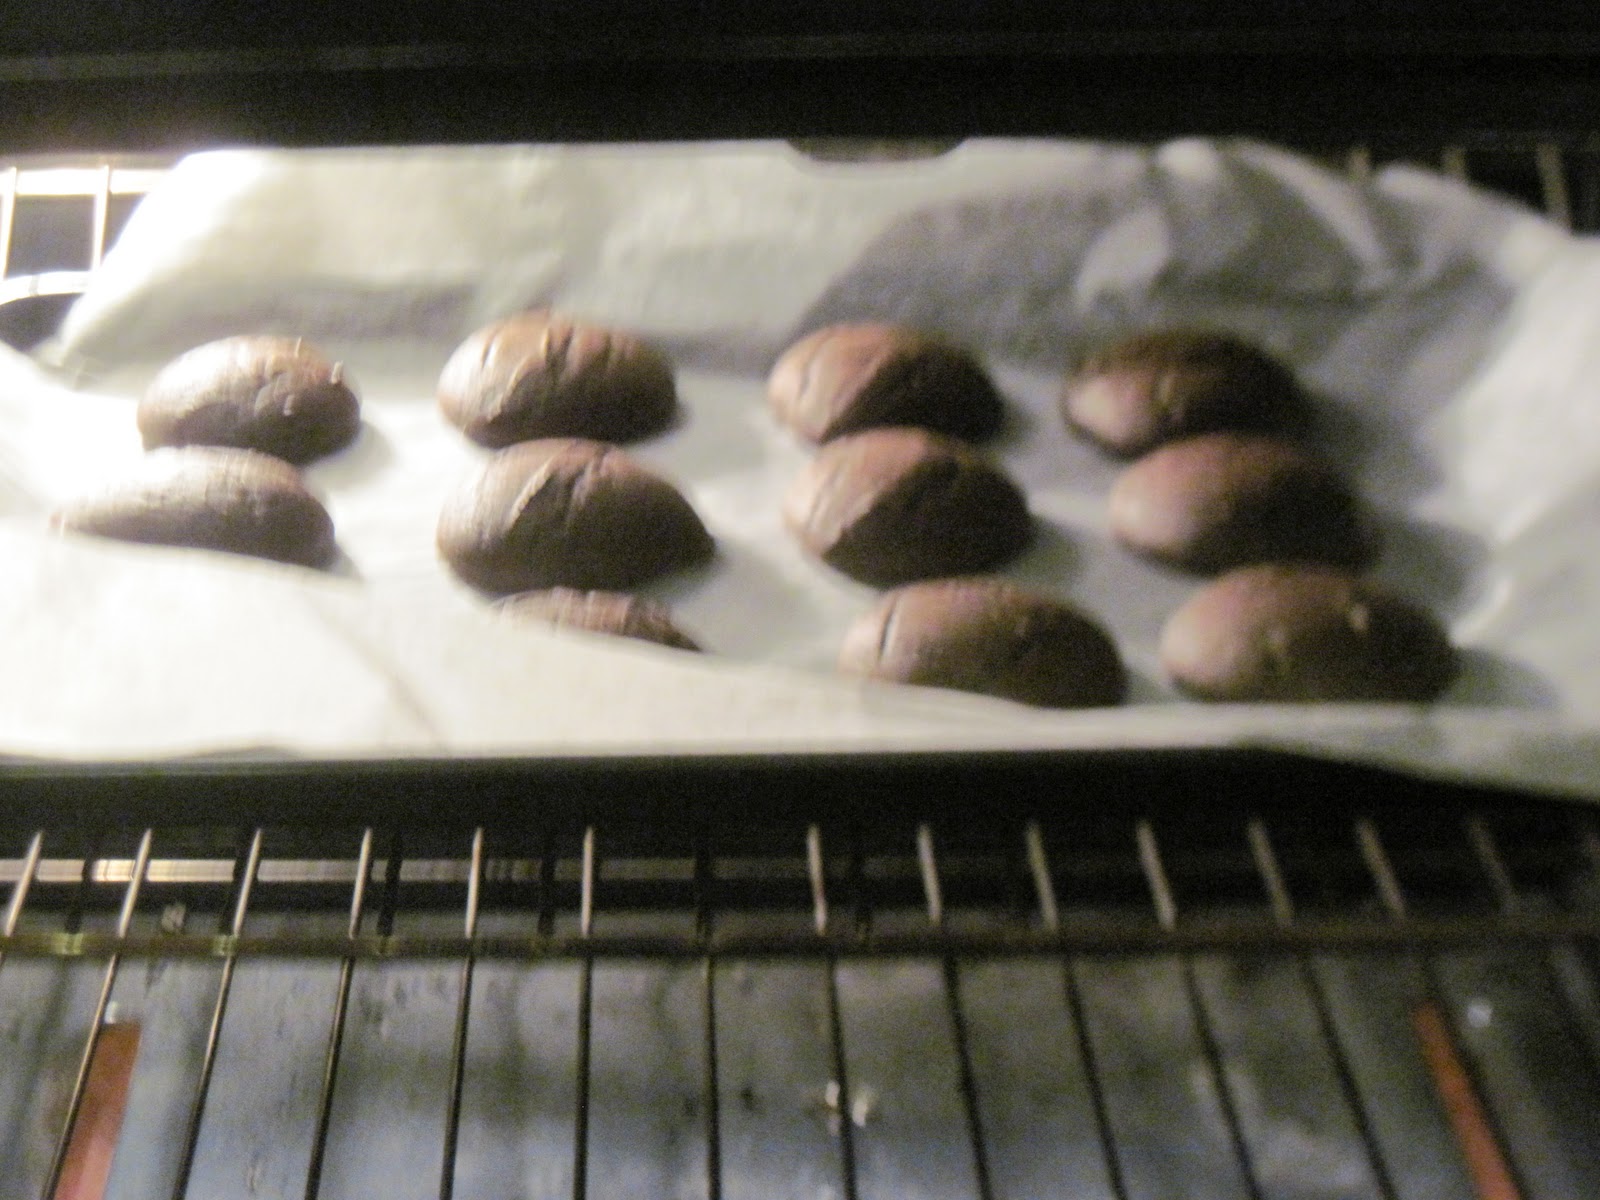
They are cooking!

Fresh out of the oven. Yum! They are so fluffy!

Time for the filling.

Mix together your peanut butter, butter, confectioners sugar, and salt according to the directions.

I dropped my new star tip into a piping bag and filled it with filling. This was my first time piping and I enjoyed it very much.

Pipe your filling onto one cake, flat side facing up.


Set the other half on top and push down gently.

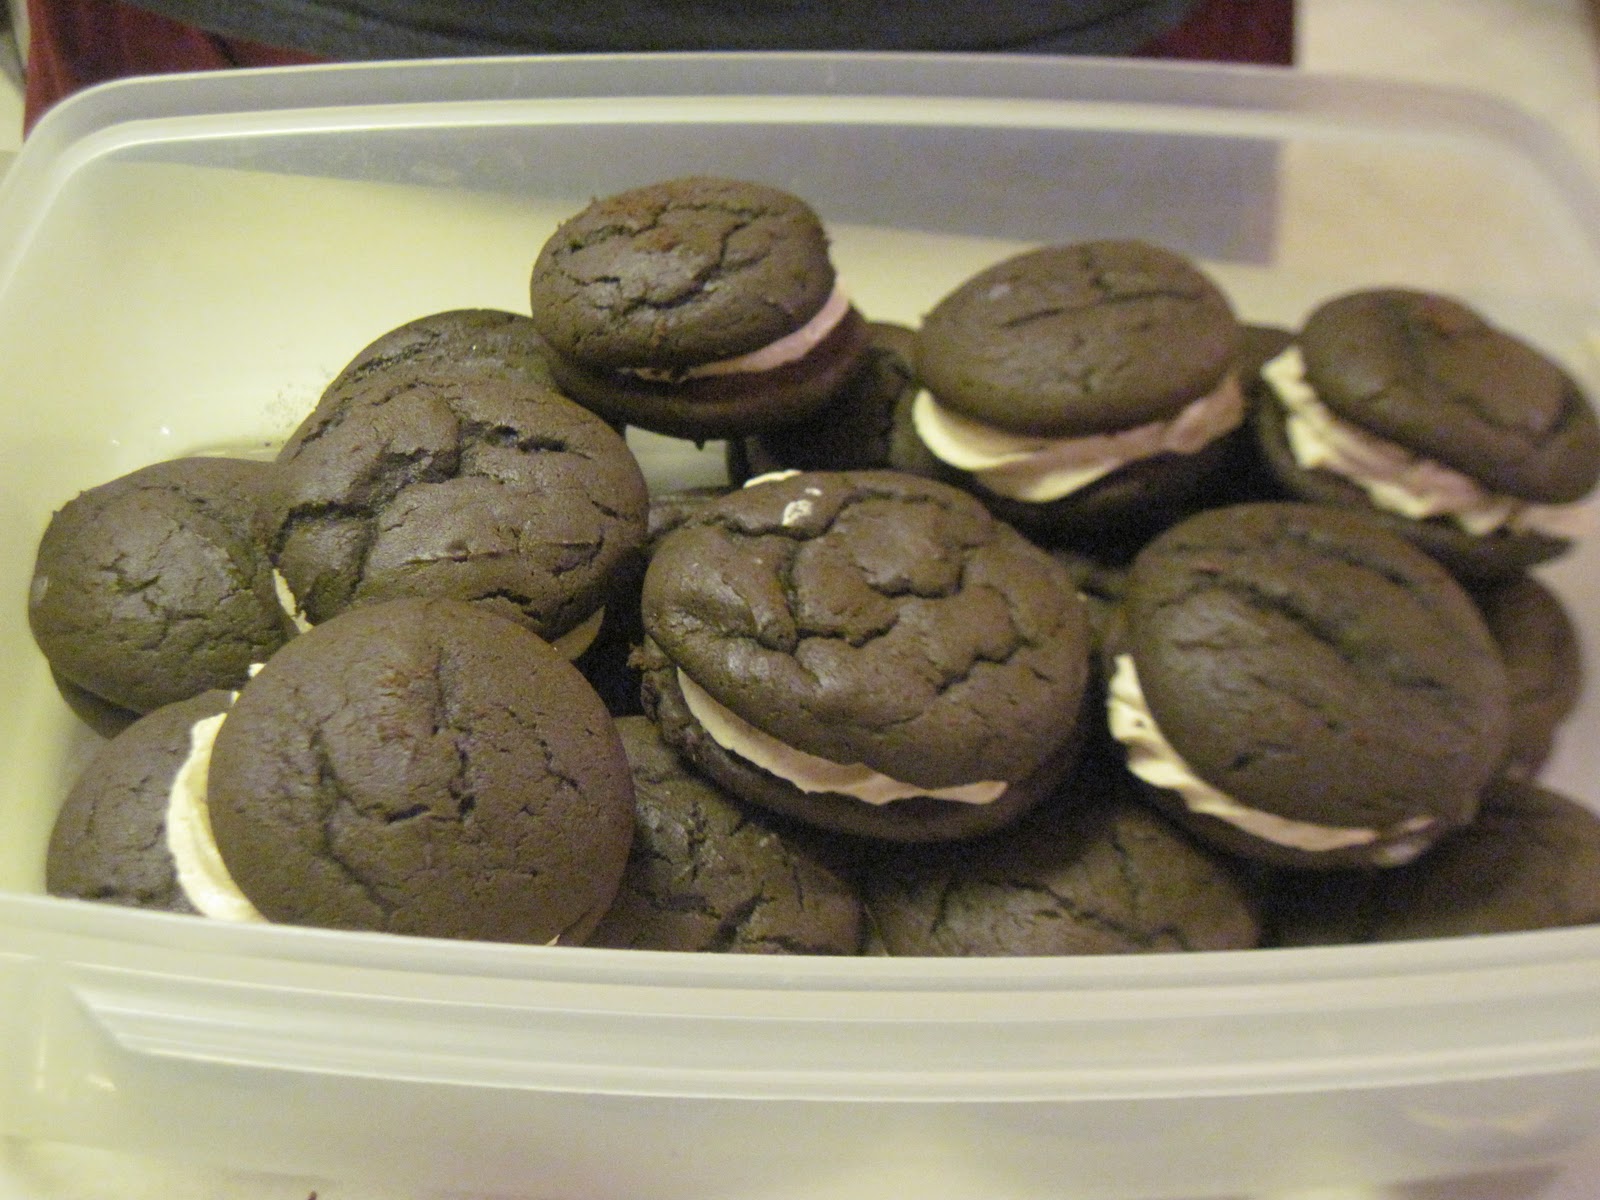
Yay! Whoopie pies for everyone. Go make some now :)

Bye, bye!
This following recipe was found on Bakerella.
Classic Chocolate Whoopie
Ingredients:
-1 2/3 cups all-purpose flour
-2/3 cup unsweetened cocoa powder
-1 1/2 teaspoons baking soda
-1/2 teaspoon salt
-4 tablespoons unsalted butter, room temperature
-4 tablespoons vegetable shortening
-1 cup packed dark brown sugar
-1 egg
-1 teaspoon vanilla
-1 cup milk
1. Preheat oven to 375 degrees.
2. Line baking sheets with parchment paper.
3. In a bowl, sift together, flour, cocoa, baking soda, and salt.
4. In another bowl, beat butter, shortening and sugar with a mixer on low until just combined. Increase speed to medium and beat for about 3 minutes.
5. Add egg and vanilla and beat for two more minutes.
6. Add half of the flour mixture and half of the milk and beat on low until incorporated. Repeat with remaining flour and milk and beat until combined.
7. Using a tablespoon, drop batter on baking sheet two inches apart. Bake for about 10 minutes each or until pies spring back when pressed gently.
8. Remove from oven and cool for about five minutes before transferring them to a rack to cool completely.

Salty Peanut Butter Filling
Ingredients:
-3/4 cup creamy peanut butter (or crunchy)
-3/4 cup unsalted butter, room temperature
-3/4 cup confectioners sugar
-1/2 teaspoon salt
1. Beat peanut butter and butter on low until creamy using a mixer.
2. Add sugar and salt and beat on low to incorporate. Increase speed to medium and beat for about four minutes until the filling is light and fluffy.
3. Spread filling on flat side on one cooled cake. Top it with a second cake and press gently.
Store whoopie pies in an airtight container.