Sunday, June 10, 2012

Healthy Nutella Fruit Smoothie


Hey, so omg! I just tasted a genius thing today. My family threw everything healthy they could find in the blender today and the result was delicious! This is going to become my new post-workout drink, and it is amazing! You must make this!


*Squeal* You’re going to love this!

Adios amigos!


Saturday, May 26, 2012

Vintage Floral Nails


Hola and cómo estás? By the way I’m currently in a Spanish class. Ok, I kinda lied about how I was doing a continous post for multiple days. I kinda forgot. But here, is a pretty cute nail idea I did multiple months ago. My inspiration is this pic I saw on Pinterest (Below). Obviously, they’re not as sweet, but I think I did a solid job. Forever ago I tried to make designs on my nails with skinny paintbrushes, because I thought that’s how it goes. Eventually, I realized, ‘Ok, every time the nail polish spreads to my whole nail, so obviously I’m doing it wrong’. And I was. The key is to use acrylic paint and use a toothpick. And now I’m like, ‘Ok, that makes sense’. Now both my fingers and toes are natural, because I think I’ve noticed a bit of a yellow shade. Nasty. So I’m giving these cuticles a break. But here you are!


Now these are not mine. They are the ones from Pinterest (the link on Pinterest wasn't very clear but I'm letting you know this is not my design nor my photography I just want to show you where I originally found the idea). Mine have the same idea. But my lines aren't as clean and straight and I did not have that pretty turquoise color so that makes a difference. Now here are mine:


Supplies:
-Multiple toothpicks
-nail polish (this girl has light blue and a soft pink. I just used a french pink but if you have her colors please use 'em)
-clear coat
-acrylic paint (dark green, light pink, darker pink, white, etc.)

Directions:
1. First clear coat
2. I'm going to do tutorial as if I used two colors. Paint your index and ring finger pink. Paint your thumb, middle, and pinkie blue.
3. Start with the stripes. Dip the tip of your toothpick at your cuticle and drag it upwards to make lines. Do this multiple times and on your fingers with pink.
4. Now we're going to do the little flowers. Dip your toothpick in the dark pink and make little blobs all over your nails. After dip a new toothpick in the light pink and making smaller blobs over the dark ones to form flowers. If you want make tiny white spots in the middle of the flowers.
5. Add leaves with the green paint. Same as the blobs but drag it out more to look like a leaf. This is no art and no sure way to do it. It shouldn't look perfect because flowers aren't perfect and this is kinda messy and vintage.
6. When they're dry, always apply a top coat and let dry! Enjoy!


Friday, May 18, 2012

Mini Pretzels


Hey guys! Well, I haven’t see you in uh... like 3 months. I don’t know if you’re reading this, but I really tried if anyone cares. I had stuff to blog about, I just, didn’t feel like going on my blog and well... blogging. Lol. So, let’s get down to business chicas. I’m going to be posting everyday for a few days to get rid of the crap I had. First I’m going to introduce the pretzels I made in March. They were pretty creative I have to say. However, the cheese sauce I cooked tasted horrible. It got hard after a few minutes. I don’t plan on making cheese sauces for the future. And since it wasn’t a very good recipe, I won’t tell you where I found it from. Instead my family just eat it with mustard. Ok. So here’s what I did.


Ingredients:
-a can of Pillsbury crescents
-1 egg, beaten
-sea salt for sprinkling
-mustard for dipping
Directions:
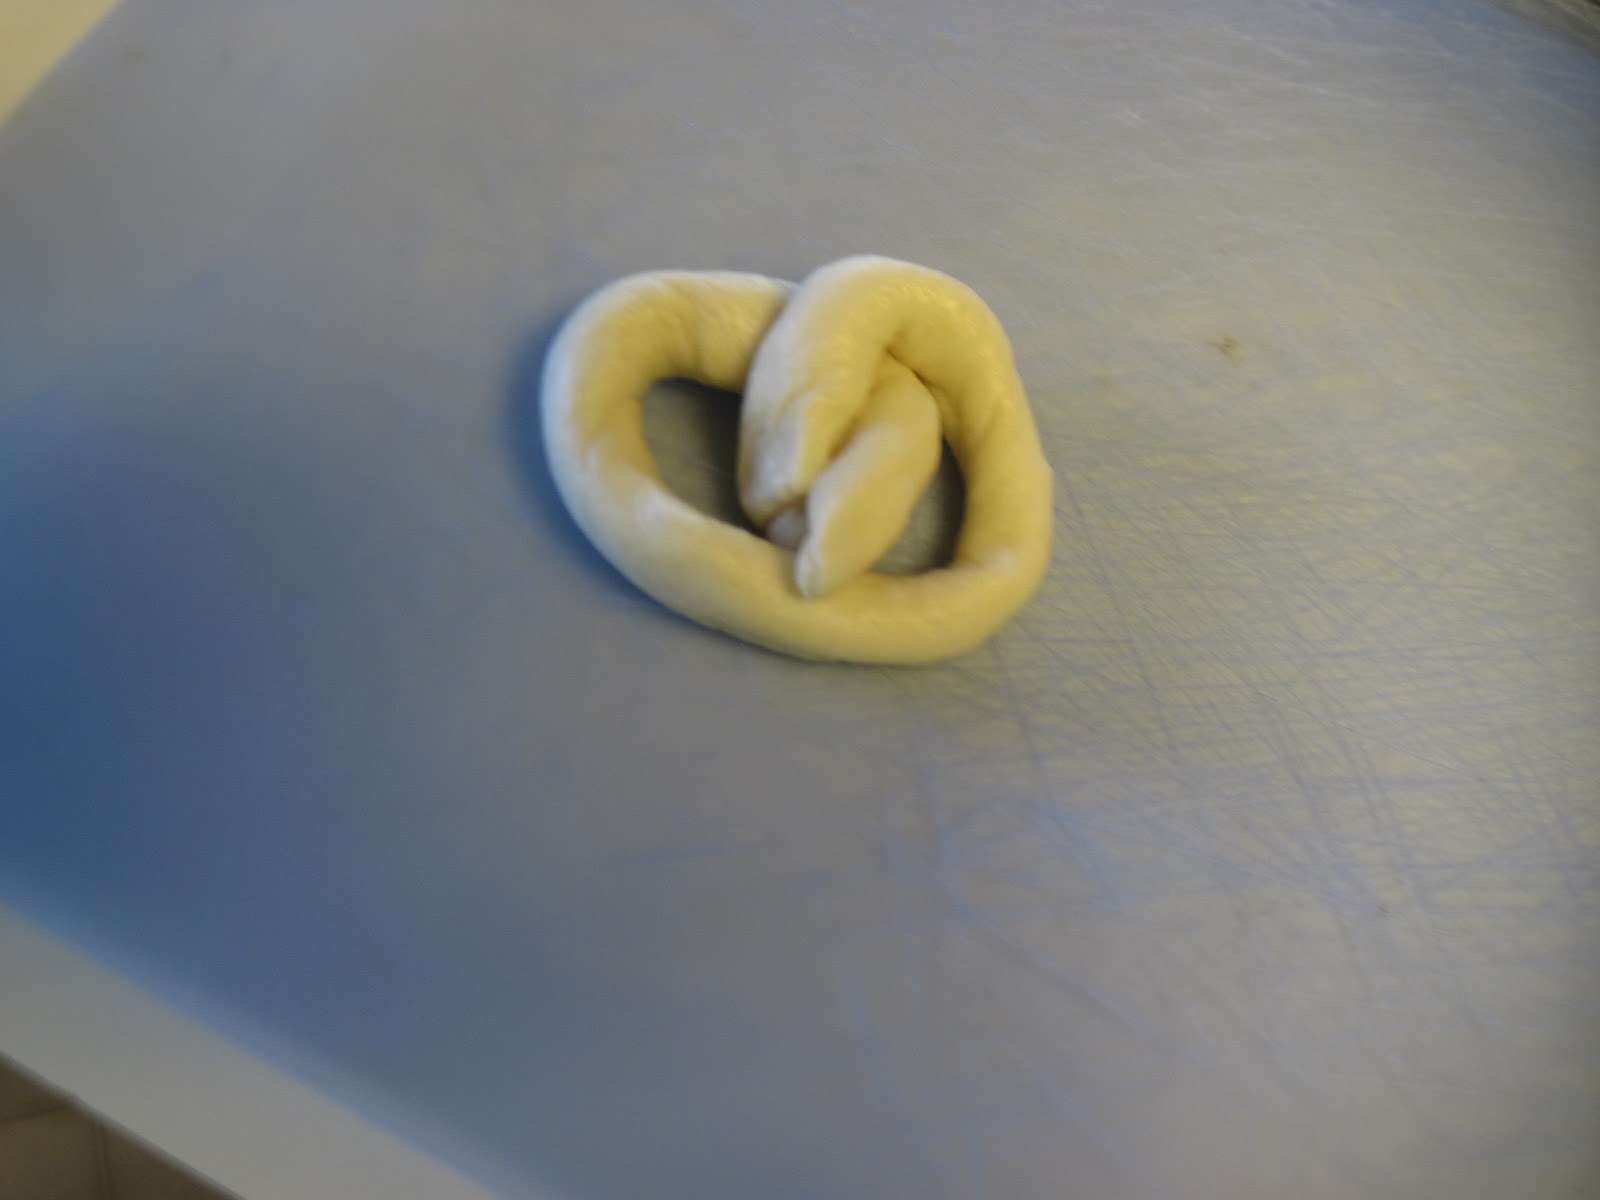
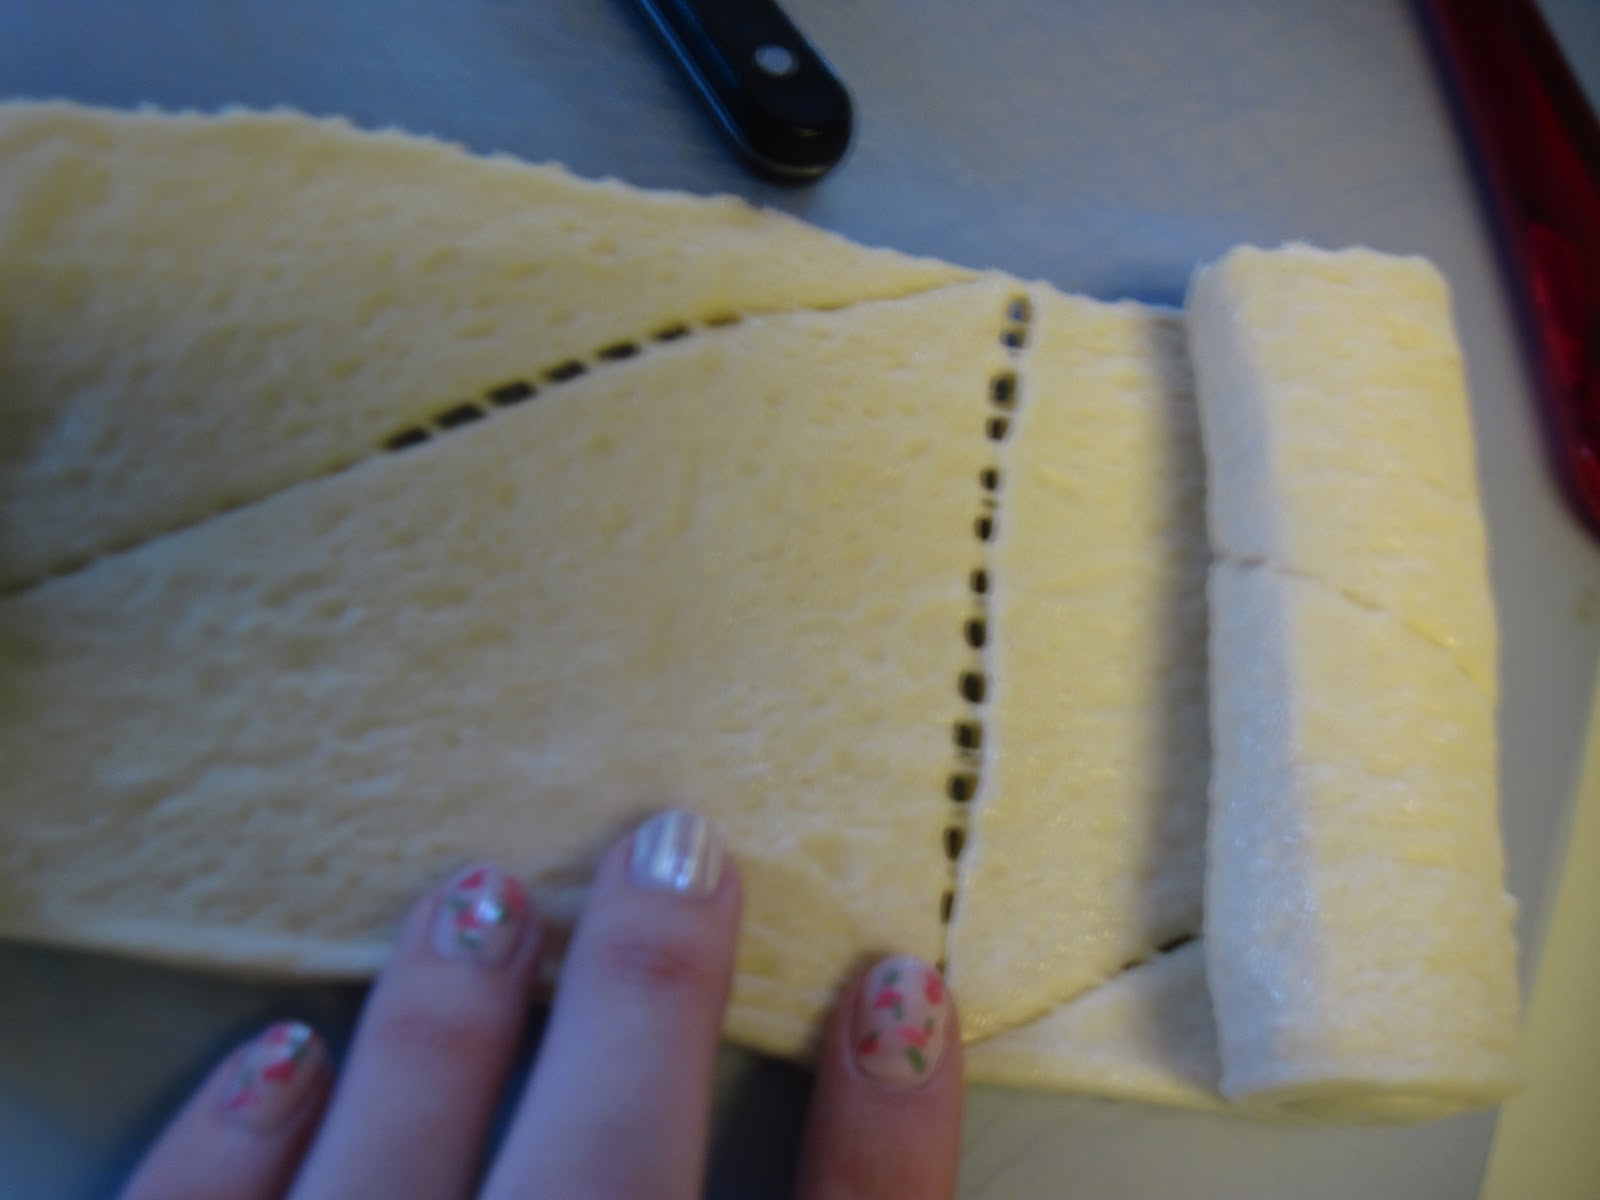
Split your crescent roll in half. I really don’t know how to explain the rest so follow the pictures. Press the seams together. Cut little strips of dough and roll them thinner. Twist into a pretzel (which I did really badly), and brush your pretzels with a beaten egg to get that pretty golden shade. Now sprinkle coarse/sea salt over all of the prepared pretzels. Sorry, but because I did this so long ago, I do not remember how long I cooked these for. I know it wasn’t that long. A bit shorter than the time on the can. Serve warm with mustard. Enjoy!


Wednesday, February 22, 2012

Garlic Butter Breadsticks


So today, I had decided that I needed to make my own breadsticks. And I was surfing the Internet for some recipes and all I saw were ones that you needed to make your own dough *yawn*. Who has time to wait for the dough to rise and all of that punching the dough and I didn’t want to get involved with that. So then, I was like, “Hey, there’s some crescent roll dough in the fridge that I need to use up.” And it hit me! I decided to make my own breadsticks.
For this recipe you will need...
-1 can of Pillsbury crescent rolls
-about 2 tablespoons butter (possibly extra if you want to brush some melted butter on after they’re cooked)
-1 teaspoon Italian seasoning
-1 teaspoon sea salt
-1 teaspoon dried oregano leaves
-1 clove garlic, mashed
-about 1/4 cup shredded mozzarella cheese

Cover a cookie sheet with aluminum foil. Set that aside. Using a separate mat or cutting board, unroll your crescent dough. DON’T separate the triangles. Push the creases and join them together to create one seamless sheet of dough.

Melt your butter in the microwave for about 10 seconds, just so it’s softened enough that you can mix through it. Mix the butter with your oregano leaves. I’m pretty sure it was around a teaspoon, but I just shook the container a few times and that seemed to be enough. Mix your garlic in thoroughly.


Spread your garlic butter mixture across the dough with an offset spatula or a plain old knife will also do. *You may also sprinkle mozzarella cheese on at this time or you can do it in a later step. Next time I make this I will do the mozzarella cheese before I twist the dough strips*


Cut your dough into even strips with a pizza cutter or a knife.


Twist it (like so) into spirals. As you can see I suck at this step.


If you didn’t already sprinkle your cheese please do so now. *If you get cheese on the foil it will burn so if you don't want those crackly, crusties hanging off your breadsticks, please make sure that the cheese is ONLY on the breadsticks :)*


Now shake salt and Italian seasoning all over the breadsticks.

Time for the oven! I baked these babies at 375 degrees for 11-13 minutes or you can just bake them according to the package of your crescent rolls :)

Yum! They smell so freakin’ good when they’re baking- and the flavor is so great when they come out. Brush with melted butter if you’re into all the grease and moistness or just eat them by their lonesome. They are guaranteed to fill you up. My family says the garlic flavor is perfect. Not too much. Not too little. Enjoy!


Monday, February 20, 2012

DIY: DVD Album

Who else is sick of a million DVD cases taking up all the space in your entertainment area and spelling out C-L-U-T-T-E-R? Because I was so sick of that. Until I eventually went all haywire and decided to make my own. The result: a simple, gorgeous DVD album that was cheaper than those already made ones you can buy at Best Buy and you can customize it yourself. Come on and see!


DIY DVD Album
Supplies:
-Binder OR Photo Album
-thin adhesive to stick your title (I used my genius Xyron Create-A-Sticker Machine that I mentioned in previous posts)
-1 package disc inserts/DVD inserts (I used Case Logic ProSleeves)
-1 package of velcro strips (I used Scotch General Purpose Fasteners)
-DVDs
Directions:


1. First take all of your DVDs out of their cases and insert them into the DVD slips. I had an ugly mess resulting from this process.


2. Arrange them in your binder.


3. Use a snap or cut a small square of velcro like I did and apply it to the edge of your binder, like so.


4. Make an adorable label for the top of your binder. I cut out mine using Sure Cuts A Lot 2 and this kind of twisted, antique-looking font called Alice in Wonderland. I’m sorry but I forgot where it was from. I think I downloaded it free from eighteen25.


Enjoy this! Bye!

Friday, February 17, 2012

Polka Dot Nails

Just a little notice, I want to share this with you guys before you go all awhol on me for never posting. Look at these. I know, it is a horribly horrible pic but just look at these things. You have to admit, they’re pretty irresistible. You can never go wrong with polka dots.


How Do You Do It?
Excellent question. 1st of all, you’ll need the following ingredients:
-toothpicks
-white acrylic paint
-black or very, very, very dark brown nail polish (I used Essie’s Little Brown Dress)
Yep, that’s all you need :)
And nowwww....
Directions:
  1. Apply a base coat and let dry.
  2. Apply your black or brown and let dry.
  3. Squirt a tiny blob of your acrylic paint on a paper plate or something else you don’t mind getting paint on.
  4. Dip your toothpick into your paint and make little dots all over your nails.
  5. Apply a top coat.
You’re done!
Bye, bye!

I’m Back... With Monster Corner Bookmarks!

I’m sorry I abandoned you guys for a month. Um... can you say AWKWARD? I’m been slightly busy since my last post. Just, slightly. But shortly before New Years’ Eve, I made this adorable Monster Corner Bookmark from I Could Make That. I found it via Tip Junkie. They are about the cutest things I’ve ever seen and they are way easier than they look. The cutting of the shapes is probably the most time-managing. But here they are!


I don’t want to steal her tutorial so head on over there to make this! Believe me, you won’t regret it! Enjoy your night!