
Hello! I’m back again. I stopped blogging for a week. Or too. And I made this cake pops for Halloween. Can you believe it? This is my first time making this lovely treats. Actually, it’s my second, but I made chick cake pops for easter last year back when my blog was lame and I posted every 2 weeks.
But seriously? Look at these things!
 |
Aren’t they so darn adorable? |
But if you’d like to see how to make them, I’ll give you a step by step tutorial right here or you can go to this site, which was where I originally found the idea.

Pumpkin Cake Pops
Ingredients:
-1 box cake mix (I used Betty Crocker Super Moist Devil’s Food Cake Mix)
-1 can frosting that coordinates with cake mix (I used Duncan Hines milk chocolate frosting)
-colored chocolate wafers (I got a pound of them but 1 and 1/2 pounds might be safer)
-1 bag sucker sticks
-1 bag Nestle Dark Chocolate & Mint Morsels
-Americolor Gourmet Writer Food Decorating pen
-styrofoam block
-styrofoam block
 |
Do you see this mini vampire? I stole it from the mini haunted house me and my dad made years ago and have on display every halloween. Vicious! 1. Okay, so bake up your cake according to the directions on the back of the box and let it cool. Crumble it up until it is nice and fine. |
 |
2. Next, mix 1 can of frosting evenly throughout the cake mix. You will probably need to use your fingers for this. Bakerella says that you may not use the whole can of frosting, but it’s easier to just get rid of it at one time, unless you have a different recipe that needs a teensy amount of frosting. |
 |
3. Now it’s time to take your trusty scoop to use as a base for your balls. |

4. After you scoop up your cake, drop the ball into your hands and sculpt it until it has a perfect form.
 |
5. I refrigerated the cake balls for a little while, just so they’d firm up slightly, for about 15 minutes. |

 |
6. Put a good amount of your wafers into a tall glass (I used one from a set we got from Ikea) and melt them until the chocolate is smooth and watery (this doesn’t mean adding water to it). |
 |
7. Make sure you don’t over-microwave this. Chocolate can burn! You can prevent burning by microwaving in 30-second intervals. Stir quickly after each heating. If you don’t work fast your chocolate will harden. After most of the chocolate is melted and just a few wafers are still intact, start microwaving at 15 and 10-second intervals. |

 |
8. Get ready to poke the sucker stick into the ball. Spoon up some chocolate, and roll the very end of the stick in the chocolate. Stick it immediately into the ball. |
 |
9. Repeat with all of your cake balls. Place in the freezer for almost half and hour, or until they are very firm. |
 |
10. Now it’s time to dip! Refill and microwave your chocolate as you need during this process. Take your cake pops out of the freezer one by one, so they are still freshly cold and won’t fall off. Dip them in until they are completely covered; turn them around to make sure they are. |
 |
11. Tap your excess chocolate off. |
 |
12. It’s a miracle. |
 |
13. Place in your styrofoam block. Repeat with every other cake pop. |
 |
14. Time for decorations! |
 |
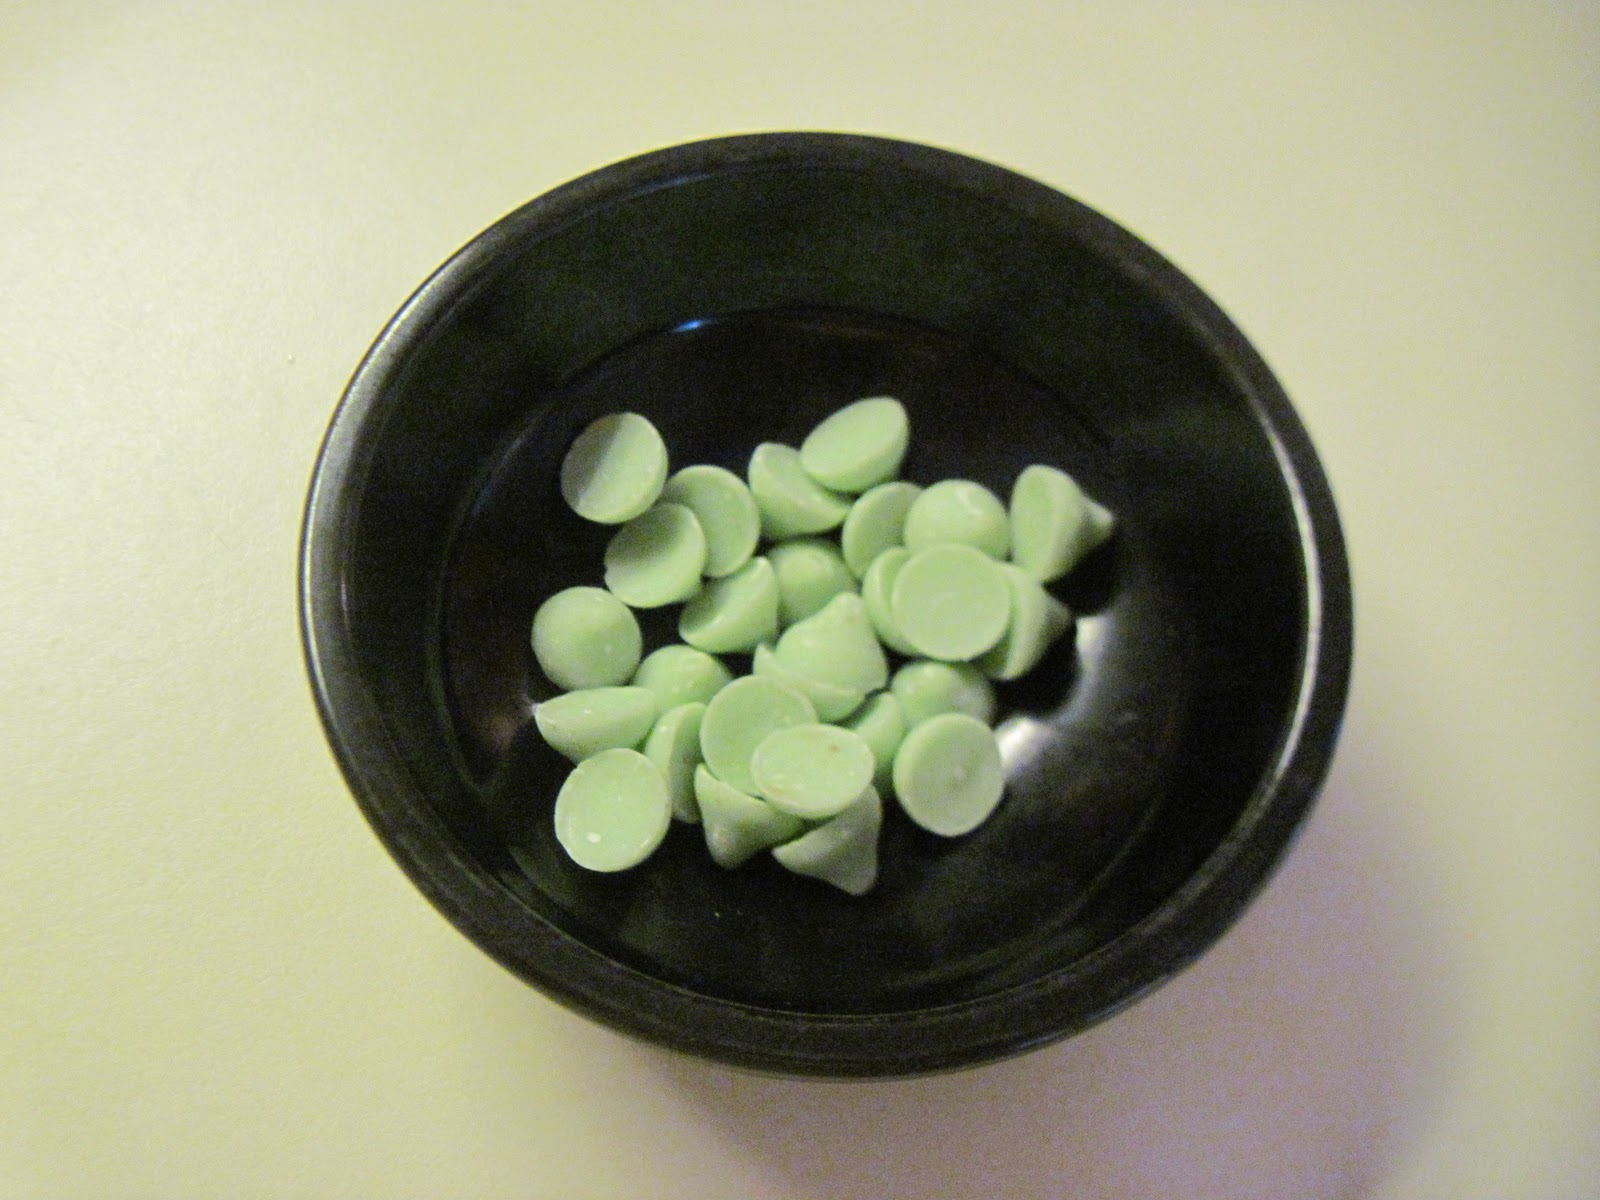
15. Now set up your stem station. Grab your bag of morsels. Separate the dark chocolate chips from the mint ones. Put them into a small bowl. |
 |
16. Look how darn cute this bowl is! Perfect for Halloween. Apparently it’s a salsa bowl, but it looks exactly like a cauldron, right? |

 |
17. When you are decorating, toothpicks are your best friends. Use them wisely. Transfer your melted chocolate to a small, short bowl and work with it. Dip your toothpick into the chocolate and then drop a dollop on the top of your cake pop (this acts as glue). |
 |
18. Push a mint chip firmly onto the cake pop. Do this with all cake pops. |

 |
19. And when there were no more chocolate wafers, we had to melt two bags of Nestle white chocolate chips. That wasn’t such a good idea. Apparently, this is why those are used for cookies and the wafers are for melting. Lightbulb? The cake pops dipped in the regular melted chips turned out lumpy, chunky, and were sprinkled with old pumpkin sprinkles. Oh well. |
 |
Yay! I smell cuteness. |

 |
20. Use your Americolor pen to draw faces! (Mine are slightly unattractive LOL:) |

 |
21. And of course I was giving these pops up, so I had to present them nicely. I found these old paper Halloween bags in a cupboard and I bought a small pack of clear bags at Hobby Lobby for like 99 cents. Happy dance! So... |
 |
22. I put the cake pop in the clear bag. |
 |
23. Then I placed that bag in the paper bag. |
 |
24. I took my handy stapler, and pinched the sucker stick (holding it in place) while I stapled the bag to the left and right of it. |
 |
Perfection. |

Don’t you love these?
Bye, bye!
*Note: This should have been posted on Halloween*

No comments:
Post a Comment