Tuesday, August 13, 2013

Simple Pineapple Cookies


Hey, you guys are gonna love me for this. I actually took pictures. Yeah! Of how to make these cookies. They are super tropical and super popular. These probably went the fastest at the party. However, my cookie cutter was so giant that I didn’t make much.


For these cookies you will need:
-orange in piping consistency
-yellow in flood consistency
-green in loose consistency
-tips #4, #2?, and a leaf tip (or you can make your own!)


First, bake your cookies {but you knew that already}


Outline in orange with a #4 tip (I like #4, the others seem too small)


Flood the cookies with your yellow. Let dry for an hour or so.


Drawing a picture helps organize everything. Here’s mine.


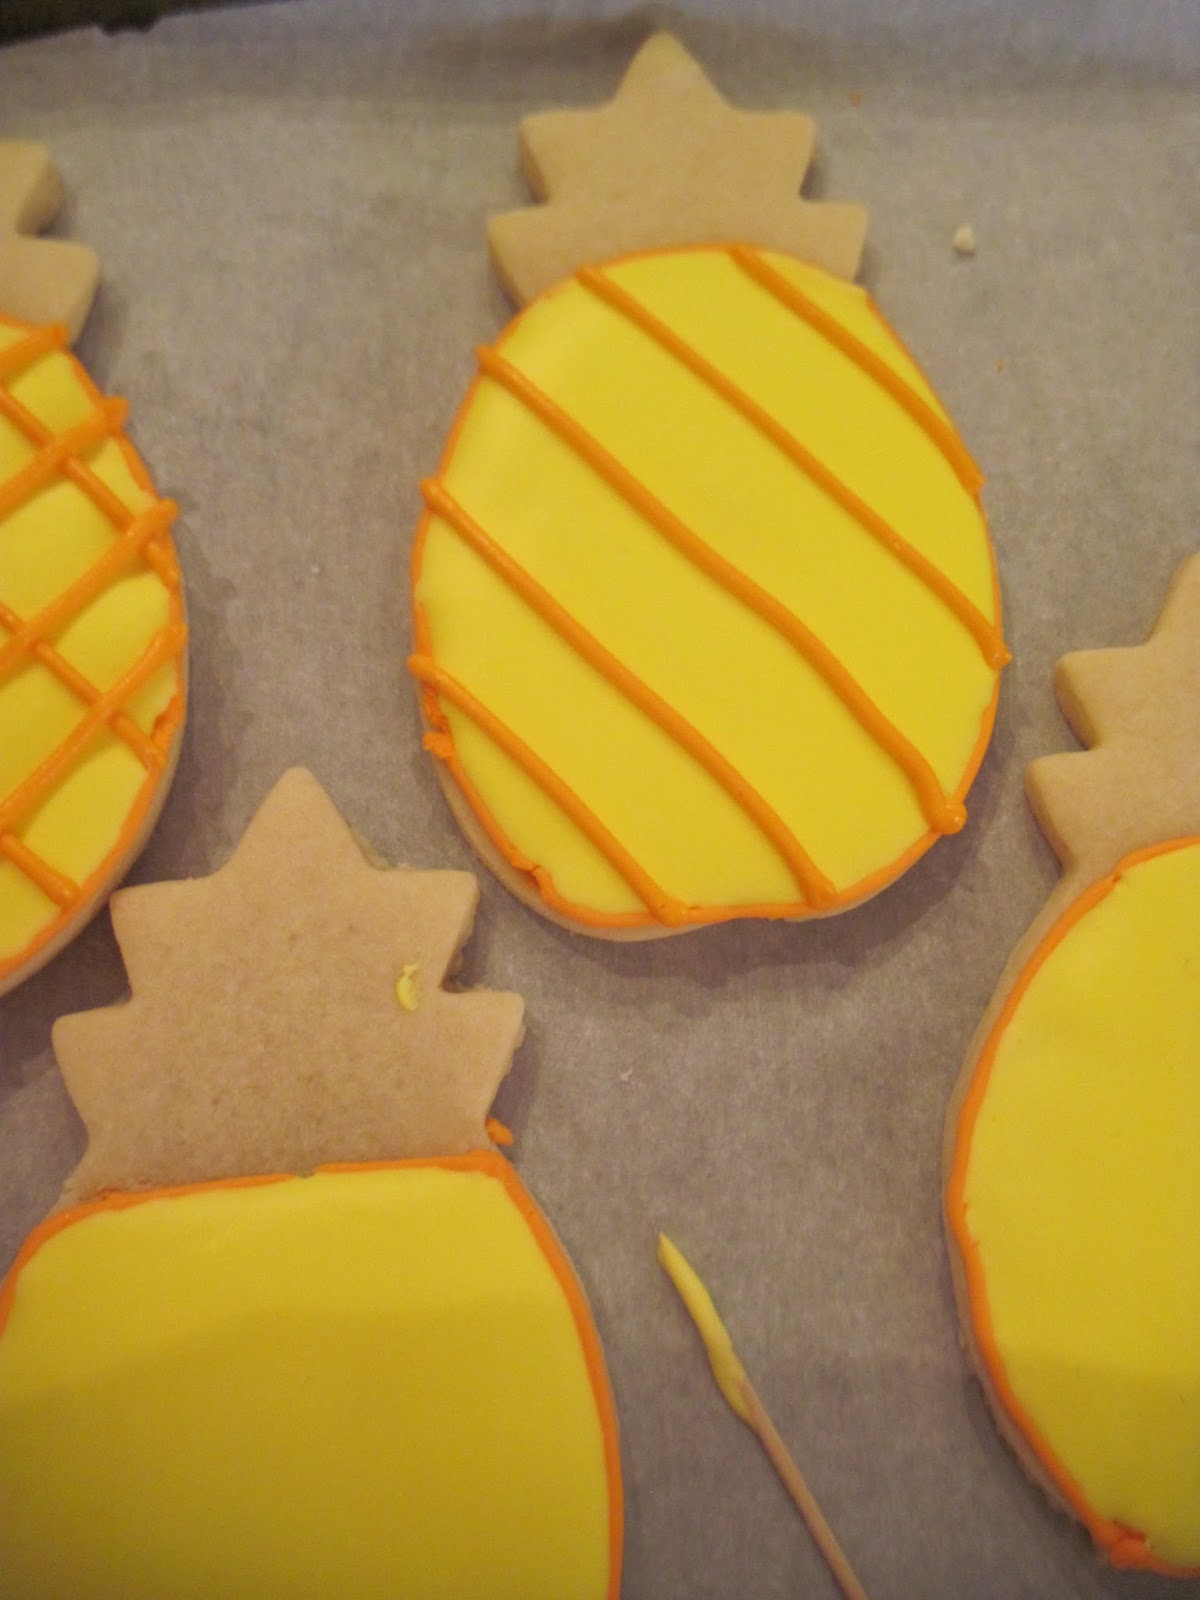
Now we’re going to do the crisscrosses. Piping straight lines is a lot easier for me then piping shapes. Pipe the lines on one side, then pipe over, going the other way.


Let dry for a bit.


Pipe little dots in between each diamond. These are going to be your thorns. Finish by piping your leaves with a leaf tip. Or cut a little v-shape from your piping bag. This video helps explain how. Also, practice making little leaves on parchment first. You’ll be golden!


Now you’re done! You have perfect easy pineapples!


Monday, August 12, 2013

Decorated Cookies: Dinosaurs, Pineapples, and Seahorses, oh my!


So I have been wanting to make decorated cookies for forever. Literally. They looked so adorable and fun I just had to make them. Now I made them once, but even though they were cute, they could have been so much better. So I stalked University of Cookie videos so I would be completely prepared. The result? Some professional looking cookies. Here’s a glimpse of them:


You’ll need:
-Electric blue in piping and flood consistency
-Leaf green in piping and flood consistency
-Orange in piping and flood consistency
-lemon yellow in flood consistency
-white loose (thicker flood) icing
-black loose (thicker flood) icing
-tips #2, #4, #10


I had two shapes for my dinosaur cookies. A T-rex looking cutter and a Stegosaurus one. These both came from a giant container of Wilton cutters I have. I used the brightest colors I could make from Americolor food colorings just because they were the colors for my brother’s grad party. First I piped the 3 colors, alternating between the 2 shapes of cutters. Then I thinned the icings and used the wet-on-wet technique, working 2 cookies at a time. Wet-on-wet is basically thinning both icings to the same consistency and then after you flood, dropping dots onto the wet icing.

After you flood your cookies and drop dots on, let them dry for an hour or so. For the eyeballs, drop dots on with a larger tip. I used Wilton #10. I then used a #4 to drop pupils onto the wet white icing. Also, I used Ziploc baggies for this, not wanting to waste a piping bag. It turned out fine, since I didn’t have a lot of icing in the bag.


Here’s a pic of all the colors:


This is an example of when the dots can bleed. Don't drop them too quickly, let the icing dry a bit.

These are my squeeze bottles filled with flood icing. I worked at the counter, so I had some height.


I made a giant mess but it was worth it. These cookies are gorgeous. Go make some! These dinos would be great for a little kid’s birthday party. And I will be posting more decorated cookies in the next days, so make sure to keep visiting! Bye, bye!