Friday, November 25, 2011

Thanksgiving Desserts

Well, I’m sorry I forgot to wish you all a “Happy Thanksgiving” yesterday. I was gone all day. But still, Happy Thanksgiving! And Black Friday. Did anyone go shop? I checked out Walmart and it was insane. Lines stretched all the way to the back of the store.

I just wanted to show you today what I made for Thanksgiving. I was supposed to bring cookies, but I decided on two things: Soft Sugar Cookies and Pumpkin Pie Bites.


I tinted the frosting a dark orange color and piped it on. Isn’t it so pretty?

And now for the bites! Everyone loved em’!


Bye, bye!


Tuesday, November 22, 2011

Cheetah Fingernails

Ah, the glory of the difference of these two designs. Remember my Cheetah Toes post back in August? Well, let the memories flood back. This time I did my nails myself and painted my fingernails, not my piggies. I’m so sure that the last one was better, but here they are!

What I did was coat the nail polish brush very lightly. If you have too much polish you will have big blobs, not cheetah spots. Be careful, and the messier, the better. Remember, this is cheetah print, not perfect zebra stripes. It comes easier the more nails you do. Just dab your brush onto your nail in very quick, sharp movements until you create spots.

Have fun and try this out! Mistakes are natural!
Bye, bye!

Sunday, November 20, 2011

Short & Sweet: Tiramisu Teacups

One quick post right now. Look at these cuties!

Yes, I’m not kidding. These are chocolate teacup molds filled with mousse and whipped cream. NOT KIDDING. Oh, and topped with chocolate shavings. Yummety yumm yumm.

These came from an awesome Italian market. And they are DELISH!

Good luck not drooling. Ha ha. These are so freakin’ adorbs! I wanna make them!

Bye, bye!

Sunday, November 13, 2011

I Scream, You Scream, We All Scream for... Whoopie Pies?

Do you want to know how I spent Saturday night?
Bonding with my sister. Mmm..hmm. Making whoopie pies. Want to know how? Come on and see!


Get your ingredients together. You’ve got your flour, dark brown sugar, baking soda, salt, vanilla, unsweetened cocoa powder, and vegetable shortening.
Mix together your flour, cocoa, baking soda, and salt. I don’t really think you need to sift it. I didn’t and they turned out fine.


Now crack your egg and mix that and the vanilla in too.
Add the flour and liquid mixture together.

Mix, mix, mix until it is all perfect and smooth. Do you see that peak? Isn’t the batter so perfect.

Yummy batter!

Use a cookie scoop to drop teaspoons onto a parchment-lined cookie sheet.

They are cooking!

Fresh out of the oven. Yum! They are so fluffy!

Time for the filling.

Mix together your peanut butter, butter, confectioners sugar, and salt according to the directions.

I dropped my new star tip into a piping bag and filled it with filling. This was my first time piping and I enjoyed it very much.

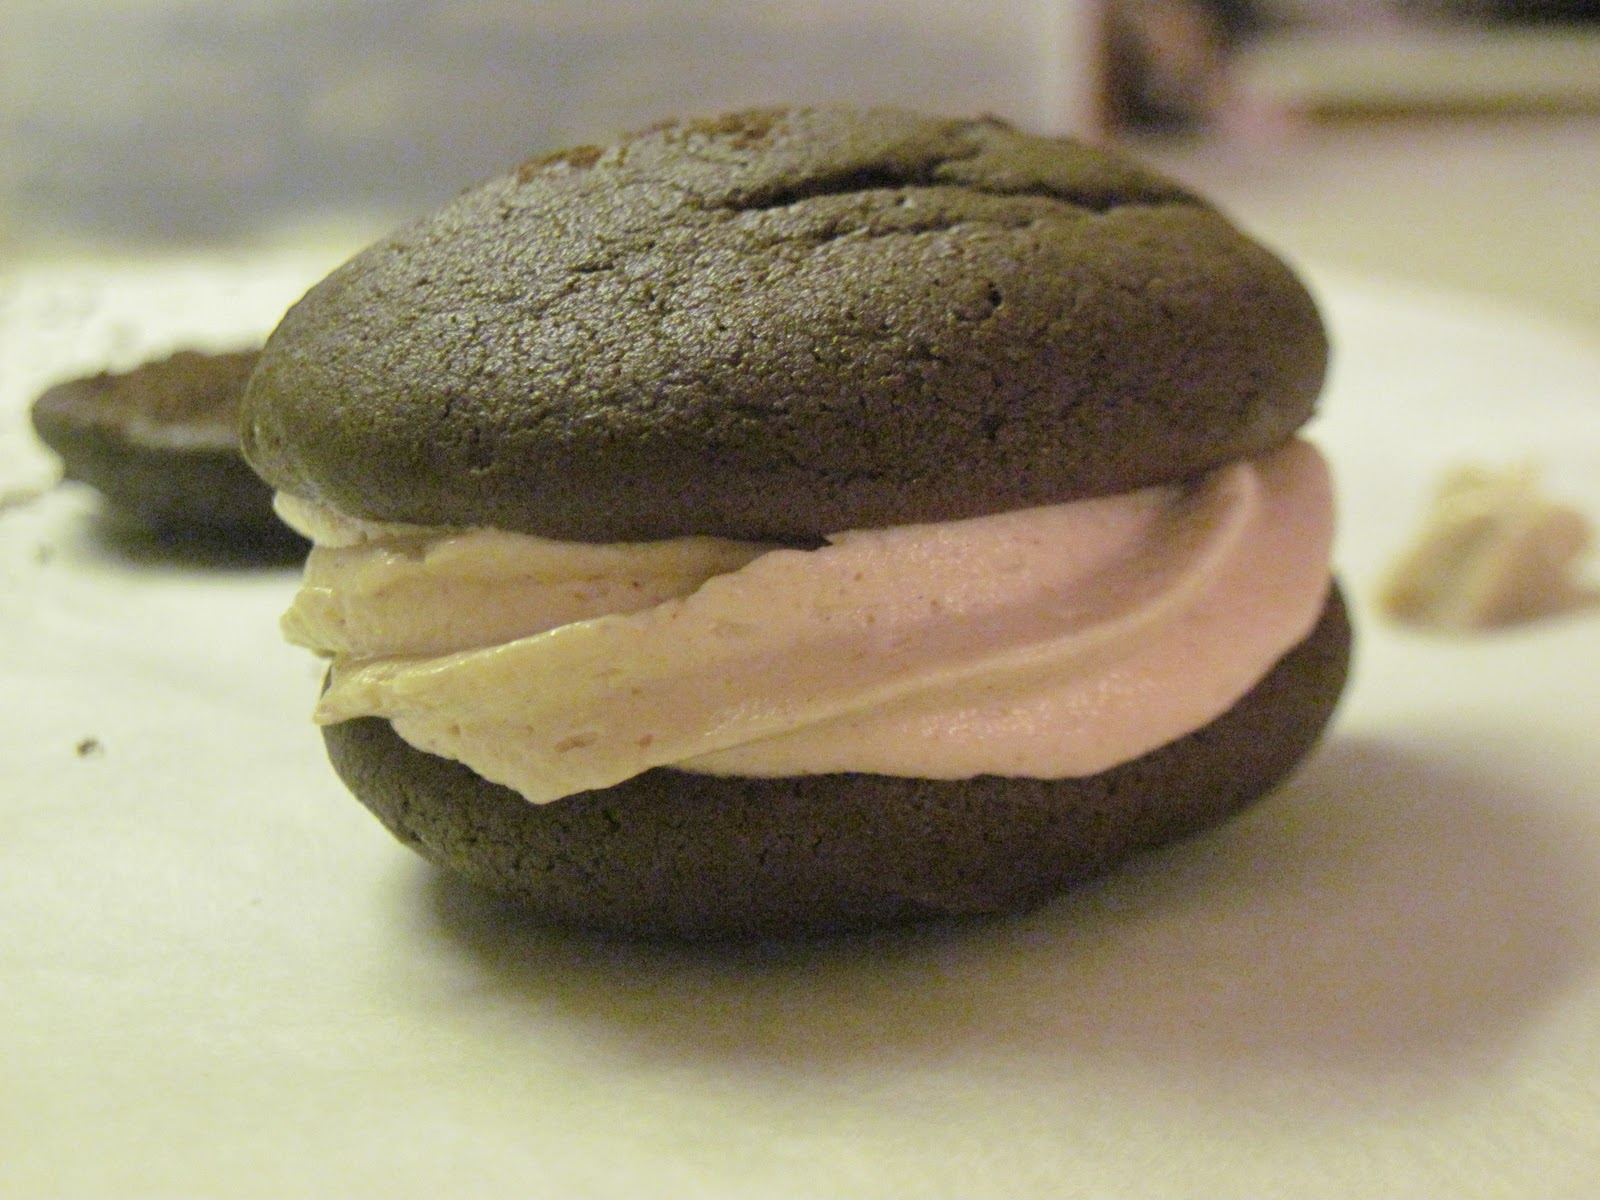
Pipe your filling onto one cake, flat side facing up.


Set the other half on top and push down gently.

Yay! Whoopie pies for everyone. Go make some now :)

Bye, bye!
This following recipe was found on Bakerella.
Classic Chocolate Whoopie
Ingredients:
-1 2/3 cups all-purpose flour
-2/3 cup unsweetened cocoa powder
-1 1/2 teaspoons baking soda
-1/2 teaspoon salt
-4 tablespoons unsalted butter, room temperature
-4 tablespoons vegetable shortening
-1 cup packed dark brown sugar
-1 egg
-1 teaspoon vanilla
-1 cup milk
1. Preheat oven to 375 degrees.
2. Line baking sheets with parchment paper.
3. In a bowl, sift together, flour, cocoa, baking soda, and salt.
4. In another bowl, beat butter, shortening and sugar with a mixer on low until just combined. Increase speed to medium and beat for about 3 minutes.
5. Add egg and vanilla and beat for two more minutes.
6. Add half of the flour mixture and half of the milk and beat on low until incorporated. Repeat with remaining flour and milk and beat until combined.
7. Using a tablespoon, drop batter on baking sheet two inches apart. Bake for about 10 minutes each or until pies spring back when pressed gently.
8. Remove from oven and cool for about five minutes before transferring them to a rack to cool completely.

Salty Peanut Butter Filling
Ingredients:
-3/4 cup creamy peanut butter (or crunchy)
-3/4 cup unsalted butter, room temperature
-3/4 cup confectioners sugar
-1/2 teaspoon salt
1. Beat peanut butter and butter on low until creamy using a mixer.
2. Add sugar and salt and beat on low to incorporate. Increase speed to medium and beat for about four minutes until the filling is light and fluffy.
3. Spread filling on flat side on one cooled cake. Top it with a second cake and press gently.
Store whoopie pies in an airtight container.

Sunday, November 6, 2011

Everyone Needs a Little POP in Their Life

Hello! I’m back again. I stopped blogging for a week. Or too. And I made this cake pops for Halloween. Can you believe it? This is my first time making this lovely treats. Actually, it’s my second, but I made chick cake pops for easter last year back when my blog was lame and I posted every 2 weeks.
But seriously? Look at these things!

Aren’t they so darn adorable?
But if you’d like to see how to make them, I’ll give you a step by step tutorial right here or you can go to this site, which was where I originally found the idea.


Pumpkin Cake Pops

Ingredients:
-1 box cake mix (I used Betty Crocker Super Moist Devil’s Food Cake Mix)
-1 can frosting that coordinates with cake mix (I used Duncan Hines milk chocolate frosting)
-colored chocolate wafers (I got a pound of them but 1 and 1/2 pounds might be safer)
-1 bag sucker sticks
-1 bag Nestle Dark Chocolate & Mint Morsels
-Americolor Gourmet Writer Food Decorating pen
-styrofoam block


Do you see this mini vampire? I stole it from the mini haunted house me and my dad made years ago and have on display every halloween. Vicious!

1. Okay, so bake up your cake according to the directions on the back of the box and let it cool. Crumble it up until it is nice and fine.

2. Next, mix 1 can of frosting evenly throughout the cake mix. You will probably need to use your fingers for this. Bakerella says that you may not use the whole can of frosting, but it’s easier to just get rid of it at one time, unless you have a different recipe that needs a teensy amount of frosting.

3. Now it’s time to take your trusty scoop to use as a base for your balls.


4. After you scoop up your cake, drop the ball into your hands and sculpt it until it has a perfect form.

5. I refrigerated the cake balls for a little while, just so they’d firm up slightly, for about 15  minutes.


6. Put a good amount of your wafers into a tall glass (I used one from a set we got from Ikea) and melt them until the chocolate is smooth and watery (this doesn’t mean adding water to it).
7. Make sure you don’t over-microwave this. Chocolate can burn! You can prevent burning by microwaving in 30-second intervals. Stir quickly after each heating. If you don’t work fast your chocolate will harden. After most of the chocolate is melted and just a few wafers are still intact, start microwaving at 15 and 10-second intervals.


8. Get ready to poke the sucker stick into the ball. Spoon up some chocolate, and roll the very end of the stick in the chocolate. Stick it immediately into the ball.
9. Repeat with all of your cake balls. Place in the freezer for almost half and hour, or until they are very firm.
10. Now it’s time to dip! Refill and microwave your chocolate as you need during this process. Take your cake pops out of the freezer one by one, so they are still freshly cold and won’t fall off. Dip them in until they are completely covered; turn them around to make sure they are.
11. Tap your excess chocolate off.
12. It’s a miracle.
13. Place in your styrofoam block. Repeat with every other cake pop.

14. Time for decorations!
15. Now set up your stem station. Grab your bag of morsels. Separate the dark chocolate chips from the mint ones. Put them into a small bowl.

16. Look how darn cute this bowl is! Perfect for Halloween. Apparently it’s a salsa bowl, but it looks exactly like a cauldron, right?


17. When you are decorating, toothpicks are your best friends. Use them wisely. Transfer your melted chocolate to a small, short bowl and work with it. Dip your toothpick into the chocolate and then drop a dollop on the top of your cake pop (this acts as glue).
18. Push a mint chip firmly onto the cake pop. Do this with all cake pops.


19. And when there were no more chocolate wafers, we had to melt two bags of Nestle white chocolate chips. That wasn’t such a good idea. Apparently, this is why those are used for cookies and the wafers are for melting. Lightbulb? The cake pops dipped in the regular melted chips turned out lumpy, chunky, and were sprinkled with old pumpkin sprinkles. Oh well.
Yay! I smell cuteness.


20. Use your Americolor pen to draw faces! (Mine are slightly unattractive LOL:)


21. And of course I was giving these pops up, so I had to present them nicely. I found these old paper Halloween bags in a cupboard and I bought a small pack of clear bags at Hobby Lobby for like 99 cents. Happy dance! So...
22. I put the cake pop in the clear bag.
23. Then I placed that bag in the paper bag.
24. I took my handy stapler, and pinched the sucker stick (holding it in place) while I stapled the bag to the left and right of it. 
Perfection.

Don’t you love these?


Bye, bye!

*Note: This should have been posted on Halloween*