
Wait to see what I have for you today!

Look at this darn thing! I can’t believe I made it. When I first saw them on Bakerella, I didn’t even know how it was possible to make these. They looked so amazing, but complicated. Really, they’re not. It’s getting easier and better to make cake pops the more I make them, but I still have the cracking problem of the chocolate coating. That disappoints me. But still, I think they turned out AWESOME. As long as you have everything set up, it should go by in a breeze.

Snowmen Cake Pops
from Bakerella
Ingredients:
-1 box cake mix (I used Duncan Hines French Vanilla Cake Mix)
-1 can frosting that coordinates with cake mix
-colored chocolate wafers (I got a pound of them but 1 and 1/2 pounds might be safer)
-1 bag sucker sticks
-1 bag Nestle Semi-Sweet Chocolate Mini Morsels
-1 tube of chocolate-coated sunflower seeds (I found them at Jo-Ann Fabrics in the checkout line)
-1 package regular oreos
-1 bag mini oreos
-Americolor Gourmet Writer Food Decorating pen
-styrofoam block
- You are going to follow most of the steps from the Pumpkin Cake Pops.
 |
2. Slice all of the creme fillings out of your Oreos, and get them into a pile.  3. Form hats by melting some candy wafers, putting a dollop on the top of your Oreo, and sticking a mini one on top.  4. Mini hats! Too cute, right? I love these little things.  5. Once you dip your pops in your melted coating, press an Oreo hat on and push in an orange sunflower seed. 6. Let them dry in your styrofoam block.  When I did this step, there was a cake pop massacre. They all fell out of the styrofoam block from the weight of the hat and it was a fail. So what does that mean? 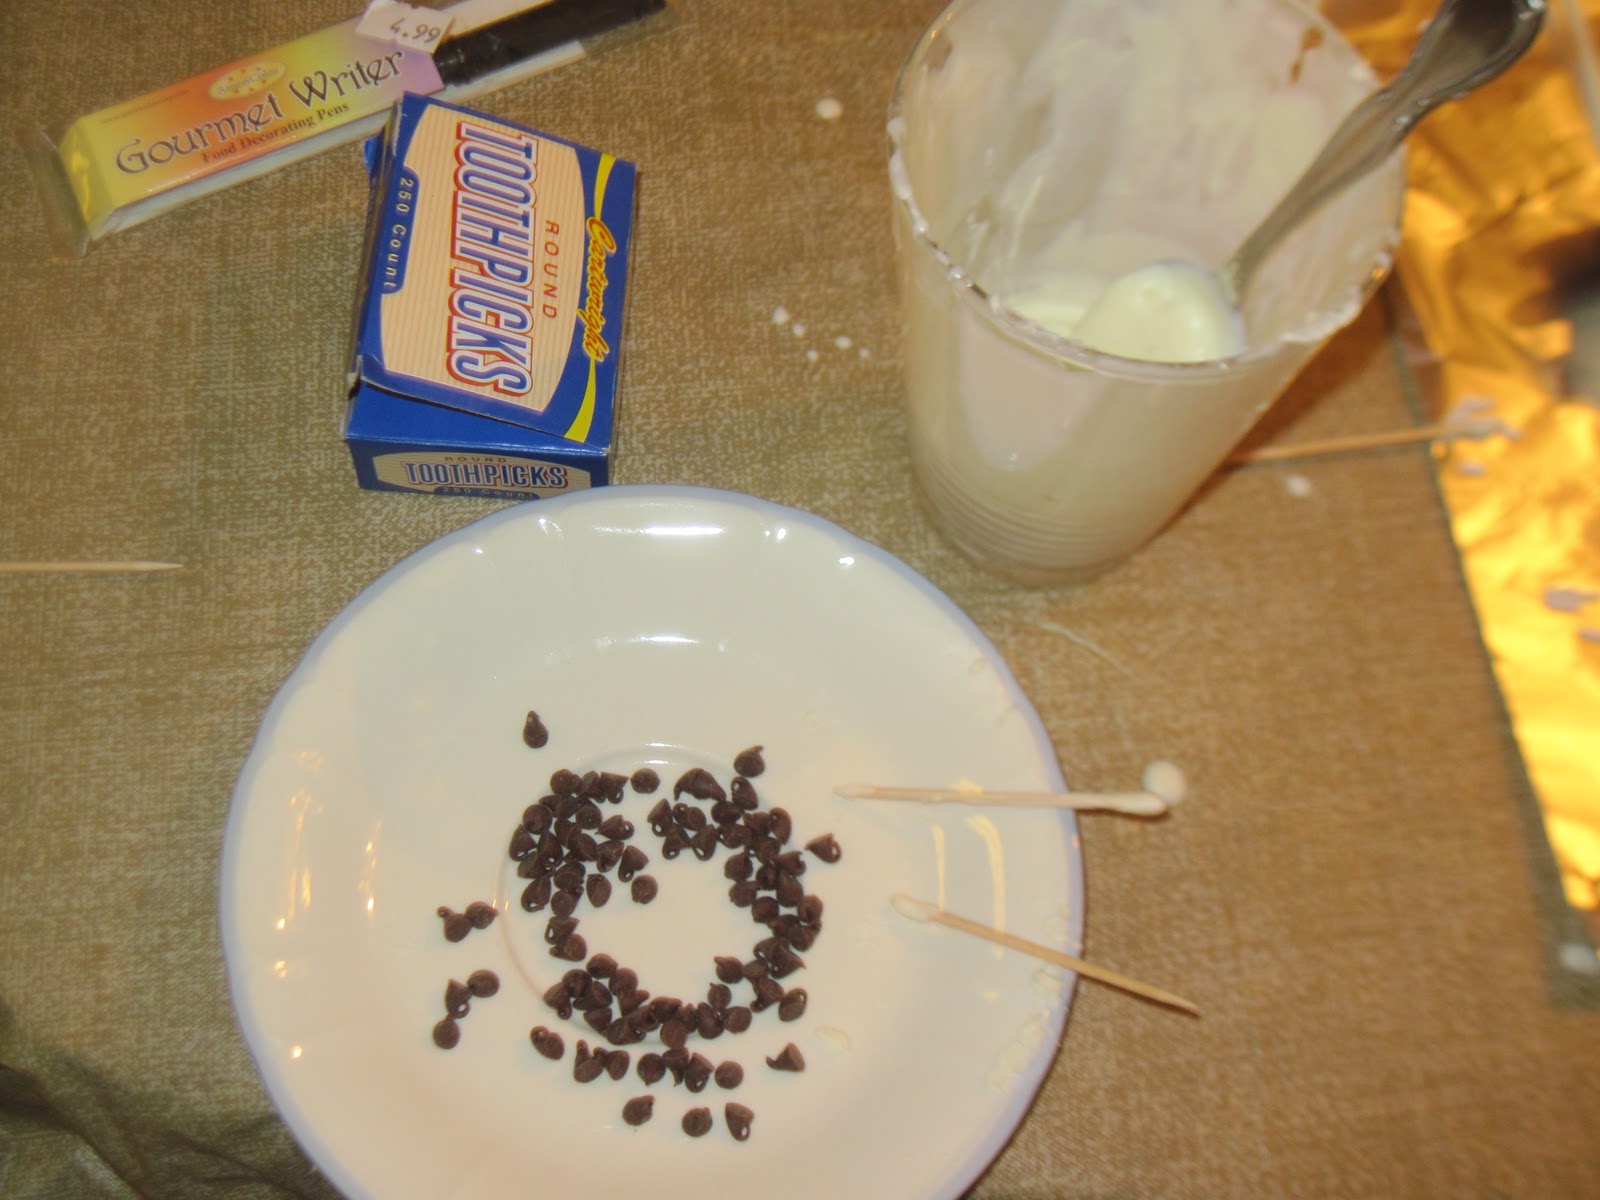 Cake pop surgery! Time to sterilize the chocolate glue and mini chocolate chips.  They are just coming to from the anesthesia. 7. Stick your cake pops in clear little bags and tie with a twist-tie.    8. I cut out little tags on my Cricut with some cute holiday paper and I stuck my Merry Christmas Labels on them.  9. Hole-punch all of your tags.  10. Cut out your holiday ribbon.  11. Weave it through.  12. Tie your ribbon around your cake pops.  And there you are! Don’t cha love em’?  That’s a heck load of cake pops!  Enjoy the little fellas! Happy baking! |

No comments:
Post a Comment